![[Officially-Licensed App & Auto Focus]Smart Mini Projector with WiFi and Bluetooth, XuanPad 4K Support Movie Projector, Portable Native 1080P Outdoor Projector with 360° Stand 1800 ANSI Auto Focus](https://www.home-theater-projector-guru.com/storage/721950/conversions/81cN-qo-60L._AC_SL1500_-medium.webp)
Understanding the basics of projecting on a wall
Why Walls Matter in Home Theater Projection
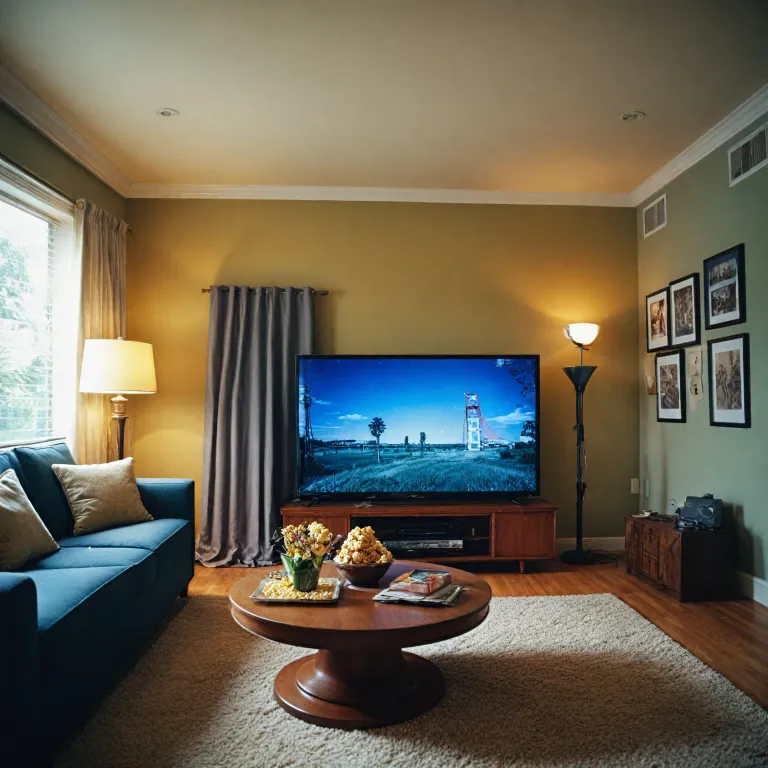
When setting up a home theater projector, many people wonder if they really need a dedicated projector screen or if projecting directly onto a wall will do the trick. The truth is, your wall can serve as a decent projection surface, but understanding its limitations and how it interacts with your projector is key to getting the best results. The wall’s color, texture, and reflectivity all play a role in image quality. For example, a perfectly smooth, matte white wall can mimic some qualities of a fixed frame projector screen, but even small imperfections or a glossy finish can impact clarity and contrast.
Projector Types and Their Impact on Wall Projection
Not all projectors are created equal when it comes to wall projection. Laser projectors, for instance, often deliver brighter images and more vivid colors, which can help compensate for less-than-ideal wall surfaces. Short throw and ultra short throw projectors are designed to project large images from a short distance, making them ideal for smaller rooms or for setups where the projector needs to be close to the wall. Portable projectors offer flexibility, but their lower brightness might struggle in brightly lit rooms or on darker walls. The throw lens and throw ratio of your projector will determine how large an image you can get based on the distance from the wall.
Wall vs. Projector Screens: What to Expect
While a wall can be a practical solution, it’s important to set realistic expectations. Dedicated projector screens, such as those from elite screens or other reputable manufacturers, are engineered to maximize image quality, offering better color accuracy, contrast, and sharpness. Screens inch ratings (like 100 inches wall or 120 inches wall) refer to the diagonal size, and projector screens are available in fixed frame, wall mounted, or portable options. Still, with the right preparation and projector choice, a wall can deliver a satisfying experience, especially for casual viewing or in spaces where installing a screen isn’t possible.
Considerations Before You Start
- Check the wall’s color—white or light gray is best for most projectors.
- Assess the wall’s texture—smooth surfaces yield sharper images.
- Think about ambient light—rooms with less light offer better contrast, but some laser projectors can handle brighter spaces.
- Review the projector’s brightness (measured in lumens) and throw distance to match your room size and wall space.
- Look at customer reviews for your chosen projector and consider the number of stars for real-world feedback.
If you’re looking for inspiration on transforming your space, check out this guide on how to turn your basement into the ultimate home cinema experience. It’s packed with practical tips for getting the most out of your projector, whether you’re using a wall or a dedicated screen.
Choosing the right projector for wall projection
Key Factors When Selecting a Projector for Wall Use
Choosing the right projector is crucial for a satisfying home theater experience, especially when projecting directly onto a wall instead of a dedicated screen. The type of projector you pick will impact brightness, clarity, and overall enjoyment. Here are some important points to consider:
- Brightness and Ambient Light: If your room is brightly lit or has ambient light, look for a projector with a high lumen rating. Laser projectors often deliver strong brightness and color accuracy, making them suitable for challenging lighting conditions.
- Throw Distance: Short throw and ultra short throw projectors are ideal for wall projection in smaller rooms. These models can create large images from a short distance, reducing shadows and maximizing space. Check the manufacturer's recommended throw distance for your wall size.
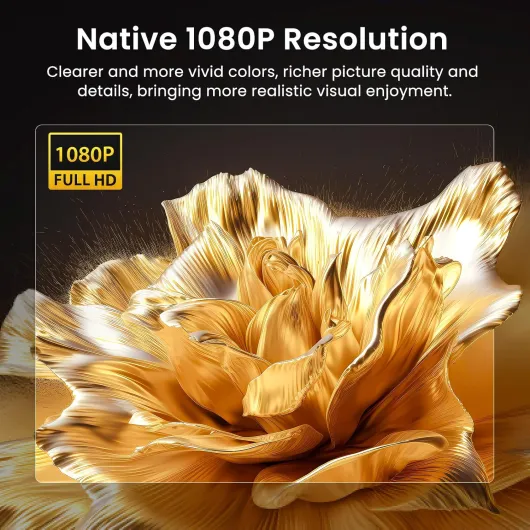
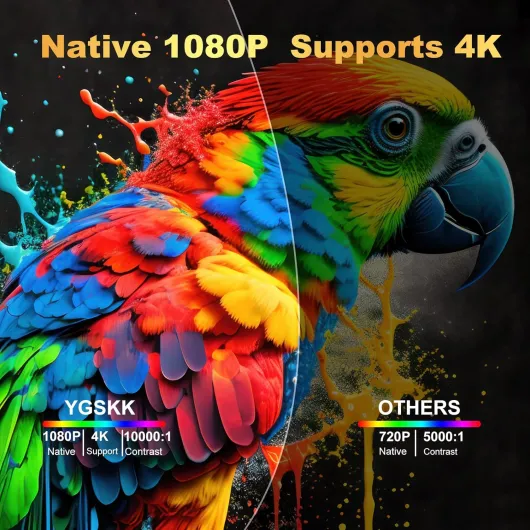
- Resolution and Image Quality: For a crisp, detailed image, consider a projector with at least Full HD (1080p) resolution. If you want a true cinema feel, 4K projectors are becoming more accessible in price and deliver superior clarity, especially on larger wall surfaces.
- Portability and Mounting: Decide if you want a portable projector or a ceiling mount or wall mounted solution. Portable projectors are flexible but may lack some features found in fixed frame or ceiling mount models.
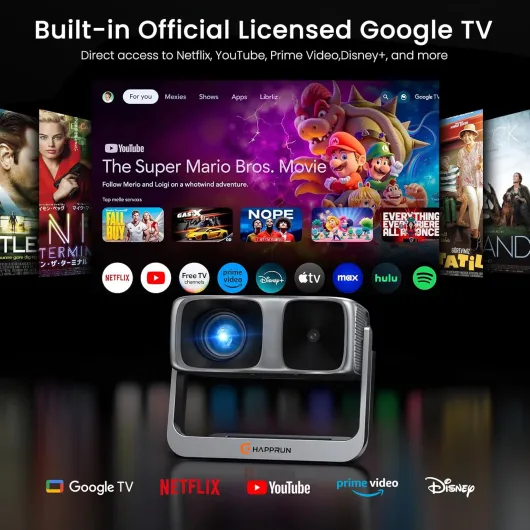
- Smart Features: Many modern projectors come with smart capabilities, allowing you to stream content directly without extra devices. This can simplify your setup and enhance your viewing experience.
Comparing Projector Types and Features
| Type | Best For | Typical Price Range | Key Features |
|---|---|---|---|
| Laser Projector | Bright, large images; long lifespan | $$$–$$$$ | High brightness, low maintenance, vivid colors |
| Short Throw Projector | Small rooms, wall projection | $$–$$$ | Large image from close distance, minimal shadows |
| Ultra Short Throw Projector | Wall mounted, tight spaces | $$$–$$$$ | Placed inches from wall, sleek setup |
| Portable Projector | Flexibility, outdoor use | $–$$ | Lightweight, easy to move, may have built-in battery |
What to Look for in Customer Reviews
Before making a purchase, check customer reviews for feedback on image quality, ease of setup, and reliability. Look for comments about performance on white or painted walls, and note any mentions of issues like uneven brightness or color accuracy. Pay attention to the number of stars and how the projector performs in real-world conditions, especially in rooms with ambient light.
Enhancing Your Viewing Experience
While the projector is the main item, other factors like the color and texture of your wall, as well as room furnishings, can impact your experience. For tips on how to create a more immersive environment, including the benefits of a dedicated home theater carpet, check out this guide to the perfect home theater carpet.
Preparing your wall for projection
Wall Surface Matters More Than You Think
Before you even power on your projector, take a close look at your wall. The wall acts as your screen, so its surface quality directly impacts your viewing experience. A smooth, clean, and neutral-colored wall is essential for clear projection. Textured walls or those with visible imperfections can distort images, especially with ultra short throw projectors or laser projectors that highlight every bump. If your wall is painted, opt for a matte white finish—glossy paints can cause unwanted reflections, reducing contrast and clarity.
Color and Brightness: Finding the Right Balance
While white is the classic choice for projection, some enthusiasts use light gray paint to improve black levels in rooms with ambient light. The key is to avoid strong colors, as they can tint your image. For those using high-lumen projectors or watching in brightly lit rooms, a slightly darker wall can help maintain contrast. If you’re aiming for a true cinema feel, consider measuring your wall to match standard projector screens inch sizes, ensuring your image fits perfectly without cropping.
Framing Your Projection Area
Defining the edges of your projection zone helps focus attention and enhances perceived contrast. You can use black velvet tape or create a simple fixed frame around your intended projection area. This mimics the look of elite screens and helps absorb stray light, making colors pop. For a more flexible setup, portable projector screens or wall mounted frames are alternatives, but a dedicated wall area remains the most seamless option for many home theater fans.
Lighting and Room Setup
Ambient light is a major factor in wall projection. Even the best projectors can struggle in brightly lit spaces. Use blackout curtains or dimmable lights to control your environment. Ceiling mount your projector or use short throw lens models to minimize shadows and maximize image size, especially if your room layout puts viewers in the front row. For those interested in audio optimization, setting the right subwoofer crossover can further enhance your experience—check out this guide to subwoofer crossover settings for more tips.
- Ensure your wall is smooth and painted with matte white or light gray for best results
- Frame your projection area to boost contrast and focus
- Control ambient light for optimal image quality
- Match your wall size to your projector’s throw ratio and screen size for a perfect fit
Optimizing image quality on a wall
Fine-tuning Brightness and Contrast
When using a projector directly on a wall, achieving the right balance of brightness and contrast is crucial. Not all walls reflect light the same way as dedicated projector screens. If your projector is too dim, especially in a brightly lit room, the image will look washed out. On the other hand, too much brightness can cause glare and eye strain. Adjust your projector’s brightness and contrast settings to match your wall’s reflectivity and the ambient light in your space. Laser projectors and ultra short throw projectors often offer higher brightness levels, which can help compensate for less-than-ideal wall surfaces.
Color Calibration for Accurate Images
Walls, even when painted white, can have subtle color tints that affect your projected image. Use your projector’s built-in color calibration tools to adjust the color temperature and saturation. Some smart projectors and high-end models from reputable manufacturers offer advanced color management systems. If your wall has a slight hue, consider adjusting the color balance until whites look neutral and skin tones appear natural. Customer reviews often highlight the importance of color accuracy, especially when comparing product performance on different surfaces.
Sharpness and Focus Adjustments
Projecting onto a wall can sometimes lead to a softer image compared to a fixed frame or portable projector screen. Make sure your projector is properly focused, and if possible, use the sharpness control to enhance detail. Short throw and ultra short throw projectors may require careful placement to avoid distortion, especially if the wall isn’t perfectly flat. A ceiling mount or wall mounted setup can help maintain consistent focus and image geometry.
Dealing with Ambient Light
Ambient light is one of the biggest challenges for wall projection. Even the best projectors can struggle in rooms with lots of natural or artificial light. Consider blackout curtains or dimmable lighting to improve image quality. Laser projectors and models with higher lumens ratings perform better in these conditions, but a dedicated projector screen with ambient light rejecting technology is still superior. If you’re committed to using a wall, optimizing your room’s lighting is essential for a front row cinema experience.
Choosing the Right Aspect Ratio and Image Size
Walls come in all shapes and sizes, so it’s important to match your projector’s aspect ratio and image size to your available space. Use the throw ratio calculator provided by your projector’s manufacturer to determine the optimal distance for your desired screen size in inches. Ultra short throw and short throw projectors are ideal for smaller rooms or when you want a large image without needing a lot of space. Make sure the projected image fits comfortably on your wall without spilling onto adjacent surfaces.
- Adjust brightness and contrast for your wall’s reflectivity
- Calibrate colors to counteract wall tints
- Fine-tune focus and sharpness for clarity
- Control ambient light for the best projection
- Match image size and aspect ratio to your wall dimensions
Common challenges and how to solve them
Dealing with Washed-Out Images in Brightly Lit Rooms
One of the most common challenges when using a projector on a wall is maintaining image clarity in rooms with a lot of ambient light. Even high-end laser projectors or ultra short throw models can struggle if sunlight or strong lamps hit the wall. To minimize this, consider blackout curtains or blinds. If that's not possible, a projector with a higher lumen number can help, but remember that even the brightest projectors have limits when competing with daylight.
Managing Wall Imperfections and Color
Projecting onto a wall instead of a dedicated projector screen can reveal every bump, crack, or uneven paint job. These imperfections distort the image and reduce sharpness. A smooth, matte white wall is ideal, but if your wall isn't perfect, a fixed frame or portable projector screen can be a worthwhile investment. Some manufacturers offer paint specifically designed for projection, which can enhance contrast and color accuracy.
Getting the Right Size and Focus
Another issue is achieving the correct image size and focus. Short throw and ultra short throw projectors are popular for wall projection because they can create a large image from a short distance. However, if the projector isn’t aligned properly or the wall isn’t flat, you might notice distortion or blurry edges. Always check the throw ratio and recommended inches wall distance in your projector’s manual. Adjustable feet or a ceiling mount can help with alignment.
Audio and Placement Issues
When the projector is placed in the front row or mounted on the ceiling, sound can sometimes be muffled or misdirected. If your projector has built-in speakers, consider supplementing with external audio for a more immersive experience. Wall mounted speakers or a soundbar can make a big difference, especially in larger rooms.
Customer Reviews and Product Support
Before purchasing any item, from a laser projector to elite screens, check customer reviews for real-world feedback on performance in wall projection setups. Look for comments about image quality, ease of installation, and how the product handles ambient light. Manufacturer support and warranty are also important, especially if you encounter issues with your projector or screen.
- Use a projector with a high lumen rating for brightly lit rooms
- Prepare your wall or consider a projector screen for best results
- Check throw distance and lens specs for proper sizing
- Enhance audio with external speakers if needed
- Read customer reviews to gauge real-world performance
Accessories and enhancements for wall projection
Essential add-ons for a better wall projection setup
Once your projector is set up and your wall is ready, a few key accessories can really elevate your viewing experience. Here’s a closer look at some items that help maximize both image quality and convenience, especially when projecting directly onto a wall.
- Ambient light control: Even the best projectors can struggle in brightly lit rooms. Consider blackout curtains or adjustable lighting to keep your wall projection crisp and vibrant. This is especially important for ultra short throw projectors and laser projectors, which can be sensitive to ambient light.
- Ceiling and wall mounts: A stable mount—whether ceiling or wall mounted—ensures your projector stays aligned with your wall. This reduces the need for constant adjustments and helps maintain a sharp, focused image. Fixed frame mounts are popular for their stability, especially with heavier models.
- Portable projector stands: If you prefer flexibility, a portable projector stand lets you move your setup easily. This is handy for those who use their projector in different rooms or want to experiment with throw distances.
- External speakers or soundbars: Most projectors have basic built-in audio, but adding a dedicated sound system can make a huge difference. Look for products with positive customer reviews and consider the price-to-performance ratio.
- Projector screens: While projecting directly onto a white wall is convenient, a dedicated projector screen—like those from elite screens or other reputable manufacturers—can boost contrast and color accuracy. Fixed frame and portable projector screens are available in a number of sizes, from 80 inches wall to over 150 inches. Some screens are designed for ultra short throw or laser projectors, and others are optimized for front row viewing.
- Screen paint: If you want to keep your wall as the projection surface but improve image quality, consider specialized screen paint. This product is formulated to reflect light more evenly than standard white paint, enhancing brightness and color.
- Cable management: With multiple devices—like smart streaming boxes or gaming consoles—cable clutter can quickly become an issue. Use cable covers or raceways to keep everything tidy and safe, especially if you have a wall mounted or ceiling mount setup.
Choosing the right enhancements for your needs
When selecting accessories, consider your projector type (short throw, ultra short throw, or standard throw lens), the size of your wall, and your typical viewing environment. For example, laser projectors often benefit from screens designed to handle higher brightness, while portable projector users may prioritize lightweight, foldable screens inch options.
Reading customer reviews can help you gauge the real-world performance of each item. Pay attention to the number of stars and feedback about installation, durability, and compatibility with different projectors.
Ultimately, the right combination of accessories can transform a basic wall projection into a true home theater experience—whether you’re in the front row or the back. Don’t hesitate to experiment with different products and setups to find what works best for your space and budget.
![[Officially-Licensed App & Auto Focus]Smart Mini Projector with WiFi and Bluetooth, XuanPad 4K Support Movie Projector, Portable Native 1080P Outdoor Projector with 360° Stand 1800 ANSI Auto Focus](https://www.home-theater-projector-guru.com/storage/721950/81cN-qo-60L._AC_SL1500_.jpg)
