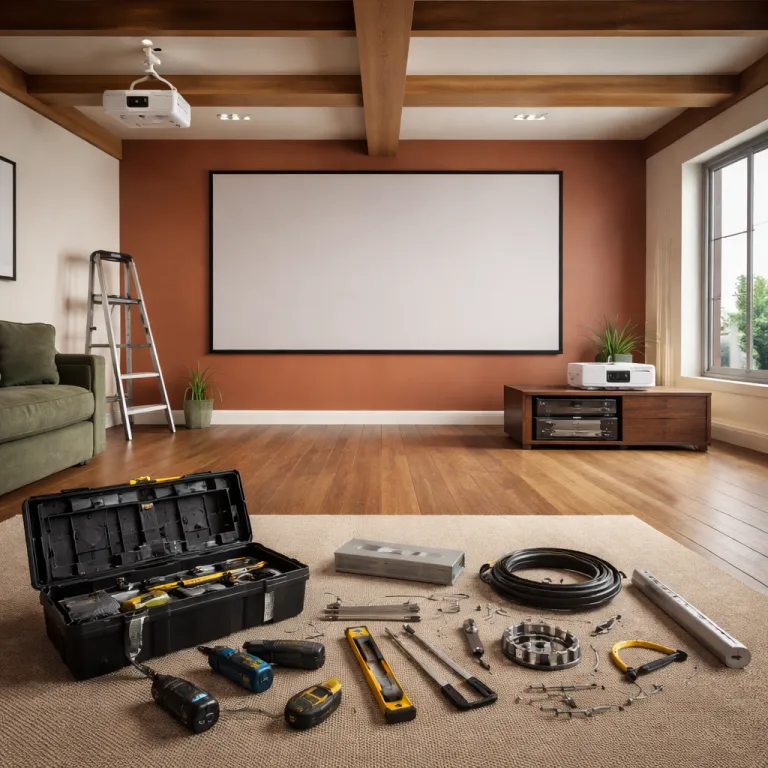
Projector ceiling mount vs shelf placement in a real home theater room
Projector ceiling mount vs shelf placement in a real home theater room
Choosing between a projector ceiling mount and a rear shelf location shapes everything about your home theater. The same projector can look razor sharp or oddly distorted depending on whether it is ceiling mounted, shelf mounted, wall mounted or sitting on a basic stand. Think of the mounting projector decision as part of the optical system, not just a furniture choice.
With a ceiling mount you usually get the cleanest geometry between projector ceiling and screen, because the lens sits on the centerline and rarely needs keystone correction. That centered location keeps the mounted projector square to the wall and lets you use lens shift or a vertical lens adjustment only for fine tuning, which preserves image quality and full panel resolution. Shelf mount setups often rely more on keystone correction and digital tricks, which can soften text, exaggerate noise and reduce contrast on both standard projectors and premium theater projectors.
Room layout decides more than marketing claims from brands like Xgimi or Epson, because throw distance, top screen height and seating rows all interact. Typical home theater projectors have a throw ratio around 1.3–2.2:1, so a 120‑inch screen (about 105 inches wide) usually needs 11–19 feet between lens and screen. In a compact room a ceiling projector can float above heads and keep the beam clear, while a projector shelf or portable stand might send light straight through people walking past. In a long theater room a rear shelf mounted or wall mounted solution can hide the hardware, but only if the lens shift range and mounting height match your chosen screen size.

Image geometry, lens shift and keystone correction with different mounting styles
Image geometry is where the ceiling mounting option usually wins, because a properly aligned ceiling mount keeps the lens exactly perpendicular to the screen. When the optical axis is square, you can run zero keystone correction and rely only on mechanical adjustments like vertical lens shift or horizontal shift, which keeps every pixel mapped cleanly. That is why many calibrated theater projectors look obviously sharper when ceiling mounted than when they are tilted up from a low projector shelf.
On a shelf mount or low stand you often angle the projector upward toward the top screen edge, which forces keystone correction to square the image. Digital keystone correction throws away resolution and can introduce scaling artifacts, especially on budget DLP projectors with aggressive processing. If you are sensitive to motion detail or use your mounted projectors for gaming, that extra processing can add a little latency and smear fine textures, even when the installation looks tidy.
Lens shift is the safety net that makes both ceiling projector setups and shelf mounted layouts more forgiving, because it moves the image optically without tilting the chassis. Models from Epson, JVC and some Xgimi units offer generous vertical lens shift that lets you keep the projector level whether it is ceiling mounted or sitting on a rear shelf. For example, many home theater units provide ±60% vertical and ±20–30% horizontal shift, which can move the image tens of centimeters on a 100‑inch screen without keystone. When you compare a projector ceiling mount vs shelf in a tricky room, always check the lens shift specification before you think about drilling or buying furniture, and consult a detailed guide on a complete home theater projector setup rather than guessing from marketing photos.
Cables, power, and the hidden costs of ceiling mounting vs shelf mounting
The cable problem is where many first time buyers underestimate the real cost of a ceiling mount compared with a simple shelf mount. Running HDMI and power to a ceiling mounted projector usually means opening the wall or ceiling, adding conduit, and respecting electrical code, which can cost more than the mount itself. In many regions, basic in‑wall cabling and a new outlet for a single projector run can range from roughly $150–$500 in labor and materials, depending on access and ceiling type. A clean projector ceiling installation looks elegant, but it is rarely as cheap or as reversible as placing the unit on a sturdy projector shelf or AV stand.
With a shelf mounted projector you can route cables along the wall with surface raceways, which keeps the setup renter friendly and easy to change when you upgrade projectors. The trade off is visible wiring and the risk of someone bumping the shelf, shifting the lens and misaligning the image with the screen during movie night. A wall mounted floating shelf can reduce vibration, but it still cannot match the rock solid stability of a properly anchored ceiling mount projector bracket.
Portable projectors from brands like Xgimi complicate the projector ceiling mount vs shelf debate, because they tempt you to move the unit between rooms instead of committing to one location. In practice, even a portable projector benefits from a semi permanent mounting solution, whether that is a compact ceiling mount or a dedicated stand that keeps the lens at the correct height. Once you have invested in good cabling, a reliable power policy for surge protection, and even a LED light controller to shape the theater atmosphere, you will appreciate a mounting choice that does not need constant adjustment.
Maintenance, noise, and everyday usability of ceiling mounted and shelf mounted projectors
Maintenance access is the quiet argument for a shelf mount, because lamp or filter changes on a high ceiling projector can be awkward. If your projector ceiling installation sits above a stairwell or a high vaulted room, you may need ladders or even professional help just to clean a filter or reset a loose HDMI cable. On a low rear shelf or stand you can reach the lens, vents and ports in seconds, which encourages regular cleaning and protects long term image quality.
Fan noise and heat also behave differently between a ceiling mounted projector and a shelf mounted one, especially in a compact theater room with limited airflow. When the chassis hangs above and behind the seating row, fan noise tends to blend into the ceiling and away from ears, while heat rises harmlessly into open air. A projector shelf near the back wall can trap warm air and bounce fan noise directly toward listeners, which matters with brighter theater projectors that run their lamps or laser engines harder.
Everyday usability includes small details like remote sensor placement, vertical lens access and how easily you can adjust lens shift when you change the screen size. A ceiling mount often hides the projector body, so you must check that the remote sensor is not blocked by the mount projector plate or by a nearby wall. Shelf mount and wall mounted solutions keep controls visible, but they also invite accidental bumps from kids, pets or cleaning, which can nudge the mounted projector just enough to clip the top screen edge or require fresh keystone correction.
Renter friendly options, hybrid setups, and what really matters for a cinematic image
Renter reality changes the projector ceiling mount vs shelf equation, because drilling into a ceiling or wall may violate your lease policy. In that case a heavy duty floor stand or tall bookcase can act as a stable mounting projector platform, giving you near ceiling mounted geometry without permanent holes. You still need to respect cable safety and a sensible shipping policy when you move, but you avoid patching plaster or arguing with a landlord.
The hybrid option many enthusiasts choose is a rear shelf mounted projector with strong lens shift, which mimics a ceiling mount while keeping maintenance simple. You place the projector shelf high on the back wall, keep the chassis level, then use vertical lens shift to drop the image onto the screen without keystone correction. This approach works especially well with flexible LCD theater projectors and some Xgimi models that offer generous shift, as long as you confirm the throw distance and room depth before buying.
When you compare ceiling mounting, shelf mounting and portable stand solutions, remember that geometry and image quality beat aesthetics every time. A slightly visible mount or bracket is a small price to pay for a sharp, evenly focused picture that fills your chosen screen without distortion or eye strain. If you want help matching specific projectors, throw ratios and room sizes, a curated guide to top 4K home theater projectors can anchor your short list, and from there the right mounting choice becomes a question of your ceiling height, seating layout and how often you plan to move the system.
FAQ
Is a ceiling mounted projector always better than a shelf mounted one ?
A ceiling mounted projector is usually better for image geometry, because it keeps the lens centered on the screen and often eliminates keystone correction. That said, a high rear shelf with enough vertical lens shift can match the same geometry without drilling into the ceiling. The best choice depends on your room height, seating position and whether you are allowed to make permanent changes.
Do I really need lens shift if I use a ceiling mount ?
You can mount a projector without lens shift, but the installation becomes much less forgiving. Lens shift lets you move the image up, down or sideways without tilting the chassis, which preserves image quality and avoids digital keystone correction. For most home theater rooms, a ceiling mount combined with vertical lens shift makes alignment faster and upgrades easier.
What is the easiest mounting option for renters ?
For renters, a tall stand or high bookshelf is usually easier than a fixed ceiling mount or wall mount. You can place the projector near the back of the room, keep it level, and use lens shift or a small amount of keystone correction to hit the screen. Cable raceways that stick to the wall help keep the setup tidy without drilling.
Does a shelf mount make the projector louder ?
A shelf mounted projector can sound louder because the fan noise reflects off nearby walls at ear level. A ceiling mounted projector often places the fan above and behind listeners, which makes the noise less noticeable. If you must use a shelf, leave space around the vents and avoid placing the unit inside a tight cabinet.
How high should I place the projector relative to the top of the screen ?
For most home theater projectors, the lens should sit roughly level with either the top of the screen for a ceiling mount or the bottom for a table mount, assuming no lens shift. If your projector offers vertical lens shift, you can place it higher or lower and then move the image optically. Always check the manufacturer’s installation diagram for the exact offset before drilling or fixing a shelf.