Projector throw ratio calculator: how to size your screen and set up the room
Why throw ratio matters more than lumens for room setup
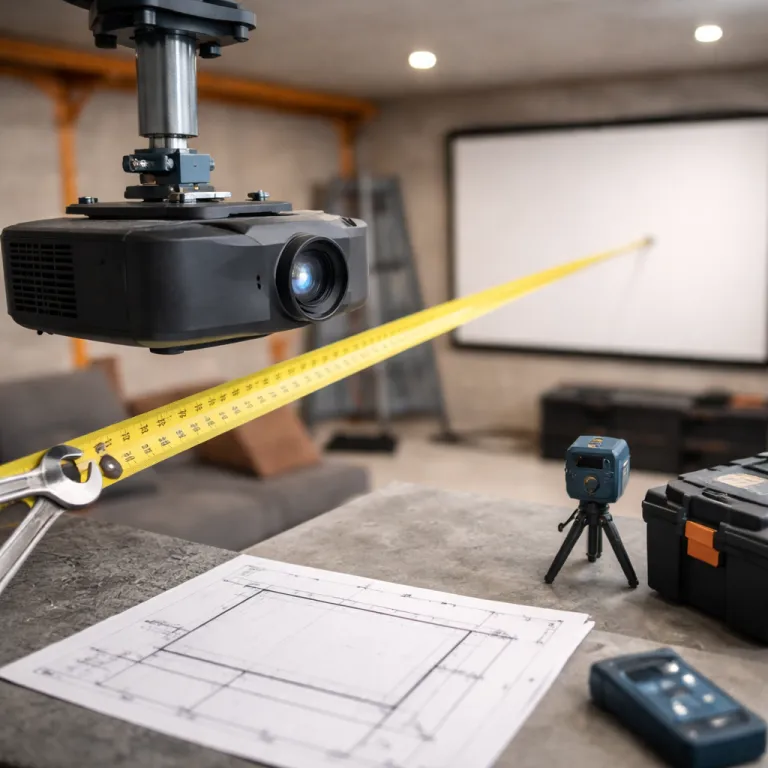
Most people shop projectors by brightness and price, then regret the screen fit. When you treat the projector throw ratio calculator as your first tool, the screen size and seating layout suddenly make sense and the image will land exactly where you want it. That single number quietly dictates the distance, the projection geometry, and whether your dream screen actually fits your wall.
Throw ratio is simply throw distance divided by screen width, and every projector uses this same definition whether it is a budget DLP or a premium LCD model. Throw distance is always measured from the centre of the lens to the screen surface, not to the wall or the back of the chassis. If you know the distance from lens to screen, you can reverse the formula and let the calculator determine the maximum screen width that still keeps focus sharp and the diagonal size within spec. A standard throw around 1.5:1 suits deeper rooms, while a short throw near 0.5:1 or an ultra short throw around 0.2:1 works better when the room depth and dimensions are tight.
Think of the projector calculator as a safety net, not a crutch, because once you understand the math you can estimate screen size in your head. Multiply your available throw distance by the minimum and maximum throw ratio listed for your projector, and you instantly see the smallest and largest screen width that will work. That quick mental distance calculator check can save you from buying a projector that forces a tiny image on a big wall or a projection that spills past the screen height and onto the ceiling. For a handy reference, keep a one page cheat sheet or printable calculator nearby with your typical room depths, preferred screen diagonals, and the matching throw ratios you already know work in your space.
[PROJECTOR]——— throw distance ———>[SCREEN]

throw ratio = throw distance ÷ screen width
Example: 3.0 m lens-to-screen ÷ 2.0 m screen width = 1.5:1 throw ratio.
Turning numbers into a real screen on your wall
Room planning starts with the wall, not the projector, because the wall defines the maximum screen width and screen height you can use. Measure the clear wall area, subtract space for speakers and furniture, then use a size calculator or projector throw ratio calculator to translate that into a realistic screen size diagonal. Your final screen aspect, usually 16:9 for mixed use or 2.39:1 for cinemascope fans, locks in the exact width height relationship.
Once you know the target projector screen dimensions, you can work backward to the projector. Take the desired screen width in metres, multiply by the throw ratio range of your chosen projector, and you get the minimum and maximum throw distance that keeps the image within the screen. If your room depth cannot hit those distances, you either change the projector throw category, pick a different model, or accept a smaller projection size that still keeps the image sharp and correctly framed.
Smart home buyers often pair this planning with broader control ideas, using a smart home controller for a cinematic projector experience so that lights, blinds, and sound all match the projection. That is where an expert mindset pays off, because you are not just chasing a big image, you are building a system based on your room’s dimensions and habits. When you talk expert to an installer or retailer, bring your measured throw distance, preferred screen aspect ratio, and seating layout so they can help you find projectors that actually fit instead of just quoting lumens.
Use this simple rule of thumb when sketching your layout:
- Minimum throw distance ≈ screen width × minimum throw ratio
- Maximum throw distance ≈ screen width × maximum throw ratio
Standard, short, and ultra short throw in real living rooms
Not all projectors behave the same way at a given distance, and that is where throw categories matter. A standard throw projector with a ratio around 1.5:1 needs roughly 3 metres of throw distance to fill a 2 metre wide screen, while a short throw with a 0.5:1 ratio can create the same screen size from about 1 metre. Ultra short throw projectors sit only a few dozen centimetres from the projector screen and rely heavily on precise lens design and screen aspect control.
In a typical living room with about 4.5 metres of depth, a standard throw model like the Epson Home Cinema 3800 or BenQ HT3550 usually offers the most flexible lens shift and zoom. According to their manufacturer spec sheets, the Epson Home Cinema 3800 lists a throw ratio of 1.32:1 to 2.15:1 with vertical lens shift of ±60 percent and horizontal shift of ±24 percent, while the BenQ HT3550 specifies a throw ratio of 1.13:1 to 1.47:1 with vertical lens shift of about 10 percent. Both provide a throw ratio range that comfortably covers common 100 to 120 inch screens in that room size, and you can confirm the exact numbers by checking the published throw distance tables for each model. You can mount the projector near the back wall, use the projector calculator or a distance calculator to fine tune the lens position, and still keep the image within your chosen screen width and height. Short throw projectors such as the BenQ TH671ST shine in multipurpose rooms where you cannot ceiling mount, but they demand a very flat screen surface and careful alignment because even a small shift in distance to the screen changes the diagonal size noticeably.
Ultra short throw projectors promise a clean look against the wall, yet they are the least forgiving when it comes to screen aspect and screen height. A dedicated UST projector screen with a fixed screen size and ambient light rejecting surface is almost mandatory if you want consistent image geometry. For many first time buyers, a well chosen standard throw with honest lens shift and a measured throw ratio, paired with thoughtful lighting control such as a DMX lighting controller for cinematic projection, still gives the best balance of flexibility and value.
Lens shift, keystone, and the inches that really matter
Mounting mistakes usually show up as trapezoids and cut off subtitles, not as blurry focus. The cleanest image will always come from placing the lens on axis with the centre of the screen, then using optical lens shift rather than digital keystone to fine tune the projection. When you rely heavily on keystone correction, the projector throws away pixels and the image will look softer, especially on larger screens.
Lens shift lets you move the image up, down, left, or right without tilting the projector, and that preserves the full resolution and aspect ratio. Many midrange projectors offer vertical lens shift of around ±60 percent of screen height and horizontal shift of ±20 percent of screen width, which can save you from relocating a ceiling mount by several centimetres. These figures are typical of models like the Epson Home Cinema 3800, but always confirm the exact lens shift range in the manufacturer spec sheet for your specific projector. Before drilling, use a projector throw ratio calculator or a size calculator to map the exact throw distance, then check the lens shift range to ensure the image can land where your projector screen is already framed.
Ceiling mount depth and wall offset sound trivial, yet they decide whether your projector calculator plan survives contact with the real room. A 10 centimetre error in mount position can change the projection size enough that subtitles hit the bottom frame or speakers block the screen height. When you talk expert with an installer, share your precise width height measurements, your planned throw distance, and any constraints like beams or fans so they can help you find a mount position that needs minimal shift and almost no keystone.
A step by step walkthrough for a typical home cinema room
Take a common scenario, because numbers feel clearer with a real wall. Imagine a room where the projector screen wall is 3.6 metres wide and 2.3 metres high, with a viewing distance of about 3 metres from sofa to screen. You want a 100 inch screen size diagonal in 16:9 aspect ratio, which means a screen width of roughly 2.2 metres and a screen height of about 1.25 metres.
Now pick a standard throw projector with a throw ratio range of 1.3:1 to 1.6:1, something like the Epson Home Cinema 3200 or a comparable LCD model from the list of top 4K home theater projectors. The Epson Home Cinema 3200 spec sheet lists a throw ratio of 1.32:1 to 2.15:1 with generous vertical and horizontal lens shift, so it easily covers this example. Multiply the 2.2 metre screen width by 1.3 and 1.6, and you get a throw distance window between about 2.9 and 3.5 metres from lens to screen. That means you can mount the projector on the ceiling just behind the main seating row, use a distance calculator or projector calculator to refine the exact centimetres, and rely on lens shift to nudge the image into the frame.
To see the math clearly, start with the basic formula: throw ratio = throw distance ÷ screen width. In this example, a 3.1 metre throw distance divided by a 2.2 metre wide screen gives a throw ratio of about 1.41:1, which sits safely inside the 1.3 to 1.6 range. To convert that 2.2 metre width and 1.25 metre height into diagonal inches, use the Pythagorean theorem: diagonal = √(width² + height²). The diagonal is roughly √(2.2² + 1.25²) ≈ √(4.84 + 1.56) ≈ √6.4 ≈ 2.53 metres, and 2.53 metres × 39.37 gives about 100 inches. A simple table or sketch showing width, height, diagonal, and throw distance for a few common screen sizes can act like a quick reference diagram when you plan your own room.
| Screen diagonal | Width × height (16:9) | Typical throw ratio | Approx. throw distance |
|---|---|---|---|
| 92" (2.34 m) | 2.03 m × 1.14 m | 1.3:1 – 1.6:1 | 2.6 – 3.2 m |
| 100" (2.54 m) | 2.21 m × 1.25 m | 1.3:1 – 1.6:1 | 2.9 – 3.5 m |
| 120" (3.05 m) | 2.66 m × 1.49 m | 1.3:1 – 1.6:1 | 3.5 – 4.3 m |
| 120" short throw | 2.66 m × 1.49 m | 0.5:1 – 0.8:1 | 1.3 – 2.1 m |
FAQ
How do I quickly estimate the right screen size for my room ?
Measure the distance from your seating position to the wall, then aim for a screen width that is roughly half to two thirds of that distance. For a 3 metre viewing distance, a screen width around 1.6 to 2.2 metres usually feels immersive without causing eye strain. You can refine this with a projector throw ratio calculator or size calculator once you choose a specific projector.
Is a short throw projector better than a standard throw model ?
Short throw projectors are better when you have limited room depth or cannot ceiling mount, because they create a large image from a shorter throw distance. Standard throw projectors usually offer more lens shift, better uniformity, and easier placement in deeper rooms. The best choice depends on your room dimensions, furniture layout, and whether you can control ambient light on and around the projector screen.
Do I really need lens shift, or is keystone correction enough ?
Optical lens shift is always preferable because it moves the image without reducing resolution or introducing scaling artifacts. Keystone correction can fix small alignment errors, but heavy use softens the image and can distort the aspect ratio. If your budget allows, choose a projector with at least vertical lens shift so you can mount more flexibly and still keep the image sharp and properly framed.
How does aspect ratio affect my choice of projector and screen ?
The aspect ratio defines the relationship between screen width and screen height, and most home cinema setups use 16:9 because it matches TV and gaming content. If you prefer films in wider cinemascope formats, a 2.39:1 screen aspect can look more cinematic but will show black bars with regular TV. Your projector must support these ratios cleanly, and a projector calculator can help you see how each choice affects diagonal size and seating distance.
Can I change my screen size later without moving the projector ?
You can adjust screen size slightly using the projector’s zoom, as long as you stay within the specified throw ratio range. Large changes in screen size usually require moving the projector closer or farther, because zoom alone cannot compensate for big differences in width height. Planning with a projector throw ratio calculator from the start gives you a comfortable margin so small future tweaks still fit your room and mount position.
How do ambient light and screen gain affect projector setup ?
Ambient light in the room washes out contrast, so brighter spaces need either more projector brightness or a higher gain screen to keep images punchy. Screen gain describes how much light the surface reflects back toward viewers, with a gain around 1.0 suiting dark, dedicated theaters and slightly higher gain helping in living rooms with some light. When you plan throw distance and screen size, consider both the projector’s lumen rating and the screen gain so the image stays vivid at your chosen diagonal.