Understanding the subwoofer crawl technique
What is the subwoofer crawl and why do people use it?
The subwoofer crawl is a practical technique that helps you find the best spot to place your subwoofer in a room for optimal bass response. Many home theater enthusiasts struggle with getting the best sound quality, especially when it comes to deep bass. The reason is that bass frequencies interact with the room in complex ways, creating peaks and dips—also called modal peaks and standing waves—depending on the subwoofer location and the room's shape and size.
When you place a subwoofer randomly, you might end up with bass that sounds boomy, weak, or uneven at your main listening position (MLP). The subwoofer crawl helps determine the best location for your subwoofer by letting you experience how the bass sounds in different spots. This method is especially useful if you want to avoid spending a high price on acoustic treatments or advanced calibration tools.
- The crawl technique involves placing the subwoofer at your main listening position and moving around the room to find where the bass sounds best.
- Once you find a spot with the most even and powerful bass, you place the subwoofer there for optimal sound quality.
- This process helps you avoid locations that produce weak or overly bass-heavy sound due to poor subwoofer placement.
Understanding how subwoofer placement affects your room's audio response is crucial for anyone serious about home theater. If you want to learn more about how your subwoofer integrates with your projector setup, or how room acoustics affect your bass experience, keep reading the next sections. For those setting up a full home theater, knowing how to connect your subwoofer using the correct speaker wire colors can also help ensure the best sound quality from your system.
Why subwoofer placement is crucial in home theaters
How Subwoofer Placement Impacts Your Home Theater Experience
When setting up a home theater, the location of your subwoofer can make or break your bass experience. Many people think any spot will do, but the truth is, subwoofer placement is a science that directly affects sound quality, frequency response, and overall audio immersion.- Bass Response: The way bass sounds in your room depends on where you place the subwoofer. Placing it in the wrong spot can lead to boomy, muddy, or weak bass. The goal is to find the best spot where the subwoofer delivers tight, even bass at your main listening position (MLP).
- Room Acoustics: Every room is different. Walls, furniture, and even the shape of the room can create standing waves and modal peaks. These can cause certain bass frequencies to sound too loud or too soft in different locations. This is why the subwoofer crawl technique is so valuable—it helps determine the optimal subwoofer location for your specific room.
- Potential Locations: Common advice is to place the subwoofer along the front wall, but this is not always the best for every room. Sometimes, a corner or a side wall will provide better sound. The crawl method helps you test these potential locations and find where the bass sounds best.
- Sealed vs. Ported Subwoofers: The type of subwoofer you use (sealed or ported) can also influence placement time and the best spot. Sealed subs are less sensitive to placement but still benefit from careful positioning.
- Price and Performance: Even a high-priced subwoofer can sound poor if placed incorrectly. Conversely, a well-placed budget subwoofer can outperform a more expensive model in a bad location.
Step-by-step guide to performing a subwoofer crawl
Finding the Best Spot for Your Subwoofer
To get the best sound quality from your home theater, the subwoofer crawl is a trusted method to help determine the optimal subwoofer location. This technique lets you experience how bass response changes throughout your room, so you can avoid modal peaks and dips that can make your audio sound boomy or weak. Here’s how to do it:
- Place the subwoofer at your main listening position (MLP). This is where you usually sit to watch movies or listen to music. Make sure the subwoofer is at ear level if possible, and not blocked by furniture.
- Play a bass-heavy track or a frequency sweep. Choose audio content that covers a wide range of low frequencies. This will help you notice how the bass changes as you move around the room.
- Crawl around the front room and along the walls. Move slowly on your hands and knees, listening for spots where the bass sounds best—tight, deep, and even. Pay attention to locations where the bass is too loud (modal peaks) or almost disappears (nulls).
- Mark potential locations. When you find a spot where the bass is smooth and powerful, mark it. These are your candidates for subwoofer placement.
- Place the subwoofer in the best spot you found. Move the subwoofer from the MLP to the location you marked. Now, return to your listening position and play the same audio. The bass should now sound optimal at your seat.
Remember, the room’s shape, wall materials, and furniture all affect how bass frequencies behave. Sealed subwoofers can be less sensitive to placement than ported ones, but both benefit from careful location selection. If you have a projector setup, make sure the subwoofer does not block any part of the screen or interfere with your projector’s cables. For those using HDMI switches, you might want to check out HDMI switches for home theater projectors to ensure seamless integration with your audio and video gear.
It may take some placement time and a few tries to find the best subwoofer location, but the improvement in bass and overall sound quality is well worth the effort. This process will help you determine the best spot for your subwoofer, giving you the most accurate and enjoyable audio experience in your home theater room.

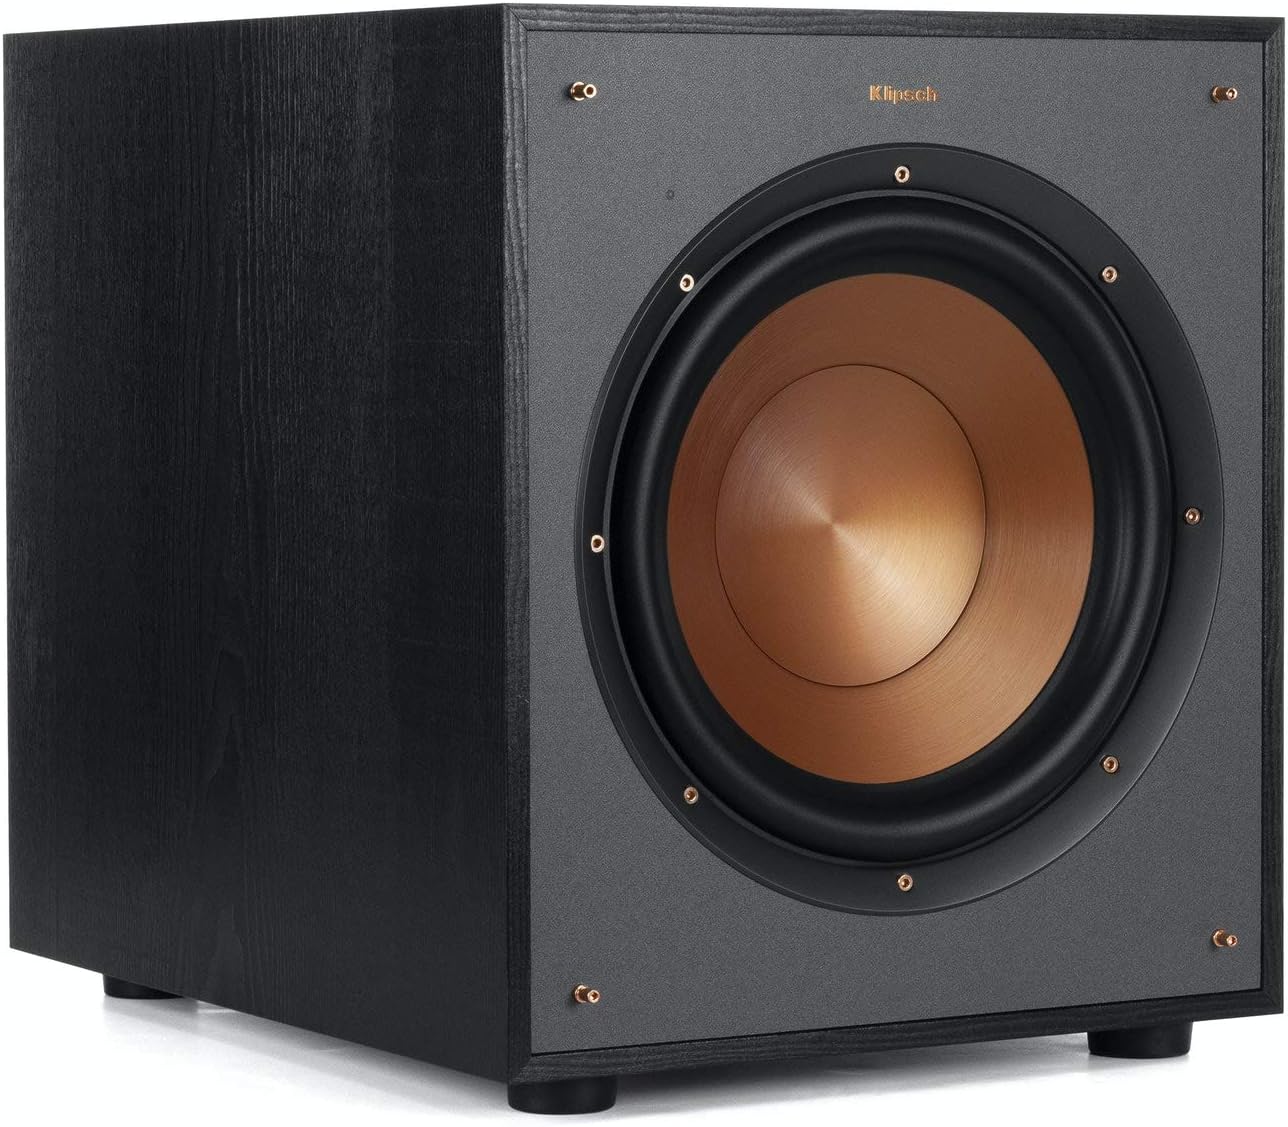
- + Incredibly Deep Bass
- + All-digital Amplifier
- + Compact Size
How room acoustics affect your bass experience
How Room Shape and Surfaces Influence Bass
The room you place your subwoofer in plays a huge role in how your bass will sound. Every room has its own unique acoustics, which means the same subwoofer can sound very different depending on the location and layout. Hard surfaces like glass, tile, or bare walls reflect sound, while carpets and curtains absorb it. These factors impact the way bass frequencies travel and interact, creating areas with strong bass (modal peaks) and spots where the bass seems to disappear (nulls).
Understanding Standing Waves and Modal Peaks
When low-frequency sound waves bounce between walls, they can reinforce or cancel each other out. This is called a standing wave. The result? Some locations in your room will be bass heavy, while others might lack punch. The subwoofer crawl helps you find the best spot by letting you listen for these differences in bass response at your main listening position (mlp). The goal is to place your subwoofer where the bass sounds even and powerful, not boomy or weak.
- Room size and shape: Larger rooms may need more subwoofer power or multiple subs to fill the space evenly.
- Wall materials: Sealed rooms with thick walls can trap bass, while open spaces let it escape.
- Furniture and décor: Sofas, bookshelves, and rugs help break up standing waves and smooth out the frequency response.
Practical Tips for Optimizing Bass in Your Room
- Try to avoid placing your subwoofer right against a wall or in a corner, unless you want extra bass boost (which can sometimes sound muddy).
- During your subwoofer crawl, listen for spots where the bass is tight and clear at your main listening position.
- If your room has a lot of hard surfaces, consider adding soft materials to help absorb excess reflections and improve sound quality.
- Test several potential locations in the front room and along the side walls to help determine the best spot for your subwoofer.
Remember, the best subwoofer placement time is the one that gives you the most balanced bass at your main listening position. Taking the time to understand your room’s acoustics will help you find the optimal subwoofer location and achieve the best sound quality for your home theater experience.
Integrating your subwoofer with your projector setup
Syncing Subwoofer and Projector for Cohesive Audio-Visual Impact
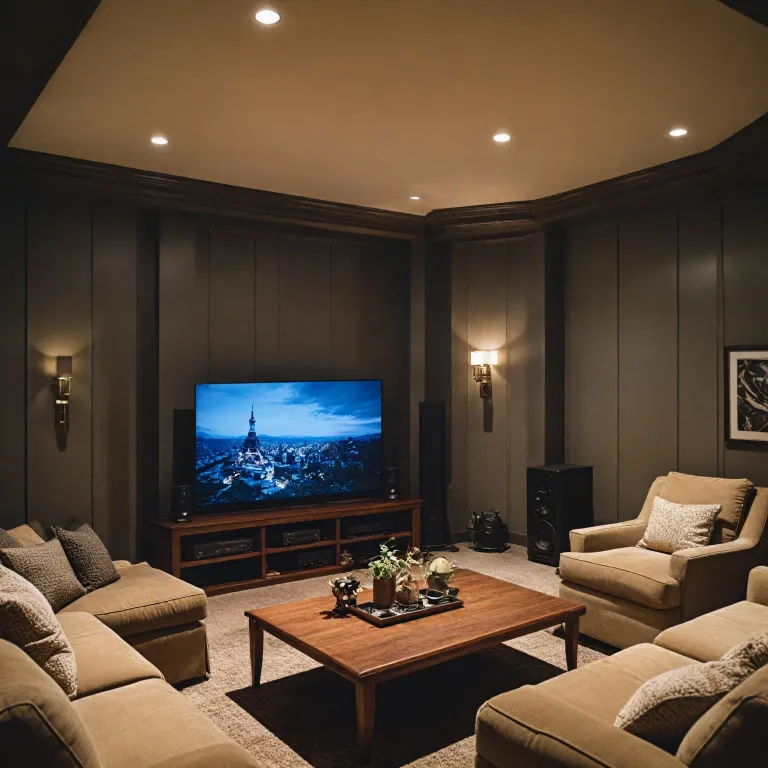
When you’ve found the best spot for your subwoofer using the crawl technique, it’s time to make sure your audio and visuals work together seamlessly. In a dedicated home theater room, the main listening position (MLP) is often centered around the projector screen. The subwoofer’s placement should complement this, delivering bass that matches the on-screen action and keeps you immersed.- Front of the Room: Placing your subwoofer near the front wall, close to the projector screen, can help anchor low frequencies to the visuals. This location often provides a more direct connection between what you see and what you hear, especially for action-heavy or bass-heavy scenes.
- Sealed vs. Ported Subwoofers: Sealed subwoofers are less sensitive to placement, but ported models may need more careful positioning to avoid unwanted frequency peaks or dips. The crawl helps determine the best spot for either type, but always consider how the subwoofer interacts with your projector’s location and the room’s acoustics.
- Room Layout and Modal Peaks: Every room has unique standing wave patterns that affect bass response. After you place the subwoofer, sit at your main listening position and listen for modal peaks or nulls. Adjust the subwoofer location if the bass sounds uneven or lacks impact.
- Integration with Audio System: Once you find the optimal subwoofer placement, calibrate your audio system. Use your AV receiver’s setup tools to align the subwoofer’s output with your speakers and projector, ensuring the sound arrives at the right time for the best sound quality.
Practical Tips for Subwoofer and Projector Harmony
- Keep cables tidy and avoid running power or audio cables across walkways to the projector or subwoofer.
- If your projector is ceiling-mounted, make sure the subwoofer’s location doesn’t interfere with projector stands or mounts.
- Consider the price and size of your subwoofer in relation to your room. A larger, more powerful subwoofer may need more placement time to find the best sound, especially in smaller rooms.
- Test different potential locations, not just the corners or front room area. Sometimes, the best response comes from less obvious spots.
Common challenges and troubleshooting tips
Solving Subwoofer Placement Frustrations
Even after a careful subwoofer crawl, some challenges can pop up. You might notice the bass isn’t as tight or powerful as you hoped, or certain spots in the room sound bass heavy while others feel weak. Here are common issues and practical ways to address them:- Uneven Bass Response: If the bass sounds strong in one location but weak at the main listening position (MLP), you might be experiencing modal peaks or nulls. Try moving the subwoofer a few inches at a time. Small changes in location can help determine the best spot for smoother frequency response.
- Standing Waves: Rooms with parallel walls often create standing waves, causing boomy or hollow bass. Placing the subwoofer away from the exact center of the front wall or back wall can reduce these effects. Experiment with different potential locations, especially if your room is rectangular.
- Subwoofer Type and Room Size: Sealed subwoofers can sound best in smaller rooms, while ported models may fill larger spaces more efficiently. The right type at the right location will optimize sound quality and help you get the best audio for the price.
- Furniture and Obstacles: Large furniture or thick rugs can absorb or block bass frequencies. Make sure nothing is directly between the subwoofer and your main listening position. Sometimes, simply moving a couch or table can improve the response.
- Multiple Subwoofers: If you can’t find a single best spot, consider adding a second subwoofer. This can help smooth out bass across the room and minimize dead zones.
Fine-Tuning for the Best Sound
- Phase and Crossover Settings: Adjusting the phase control and crossover frequency on your subwoofer can help blend the bass with your main speakers. Start with the crossover set near the lower limit of your main speakers’ range and tweak from there.
- Subwoofer Crawl Revisited: If you’re still not satisfied, repeat the subwoofer crawl. Sometimes, a different placement time of day or with the room arranged differently will reveal a better location.
- Calibration Tools: Use your AV receiver’s room correction system, if available. These tools can help determine optimal subwoofer placement and adjust for room acoustics, improving overall sound quality.