Understanding Projector Lamp Lifespan
Exploring the Longevity of Your Projector Lamp
Understanding the lifespan of your projector lamp is crucial for maintaining the best performance of your home theater setup. Projector lamps, commonly referred to as projector bulbs, have a finite working life and will need replacing over time to maintain optimal image quality. Here’s what you need to know: Projector lamp lifespan is generally measured in hours, and it's important to know how many hours your current lamp has been in use. This can often be checked in the lamp menu of your device or by pressing specific functions on your remote control. Some projectors come with a lamp timer or a lamp counter, providing a visual indication of the remaining lamp life. Typically, the average lifespan of a replacement projector lamp ranges from 2,000 to 4,000 hours, depending on the make and model. However, usage patterns, such as frequent power cycles like frequently turning your projector on and off, can shorten the lifespan. A dimming bulb, a decrease in image quality, or frequent lamp errors on your projector menu or remote may signal that your lamp is nearing the end of its life. In such cases, it’s advisable to plan for a lamp replacement proactively to avoid sudden interruptions during your entertainment sessions. The brand and type of lamp projector also play a significant role in determining how long a lamp lasts, so it's essential to choose the right replacement lamp that matches your projector’s specifications, as discussed in the next sections. Understanding your projector's lamp expectations will keep your cinematic experiences uninterrupted and reduce the chances of needing a professional to replace it for you, potentially saving on unnecessary costs. In the following sections, you will find a comprehensive step-by-step guide to replacing your lamp correctly and tips for extending its life.Choosing the Right Replacement Lamp
Selecting the Ideal Projector Replacement Lamp
Picking the right replacement lamp is crucial to maintain your projector's performance as closely as possible to the original. It's important to note that projector lamps can vary widely in terms of quality and price. While the temptation to save a few USD on a cheaper option exists, an incorrect or inferior lamp can affect your viewing experience and even risk damaging your projector in the long run.
When choosing a replacement projector lamp, consider the following aspects:
- Brand Authenticity: Always aim to purchase lamps from reputable manufacturers or authorized dealers. Authentic projector bulbs are often designed to match the exact specifications of the original lamp, ensuring compatibility and safety.
- Compatibility: Ensure the bulb matches your projector model. Visit the projector manufacturer’s website or consult the user manual for precise specifications, including model number and type.
- Lamp Housing: Some replacement lamps come with a housing, while others do not. Purchasing a complete lamp housing can simplify the installation process. Check if a complete assembly is required or if the bulb alone will suffice.
- Lamp Life: Look for lamps that offer higher lamp hours; this indicates longer lifespans and fewer replacement needs. Always verify against the projector's lamp timer to gauge usage accurately post-replacement.
By choosing the correct lamp, you can efficiently replace the existing unit in your projector, keeping it running smoothly. Proper lamp replacement and maintenance can prolong the operational life of the projector and deliver consistent picture quality.
Step-by-Step Guide to Replacing a Projector Lamp
{"Step-by-Step Process for Changing Your Projector Lamp
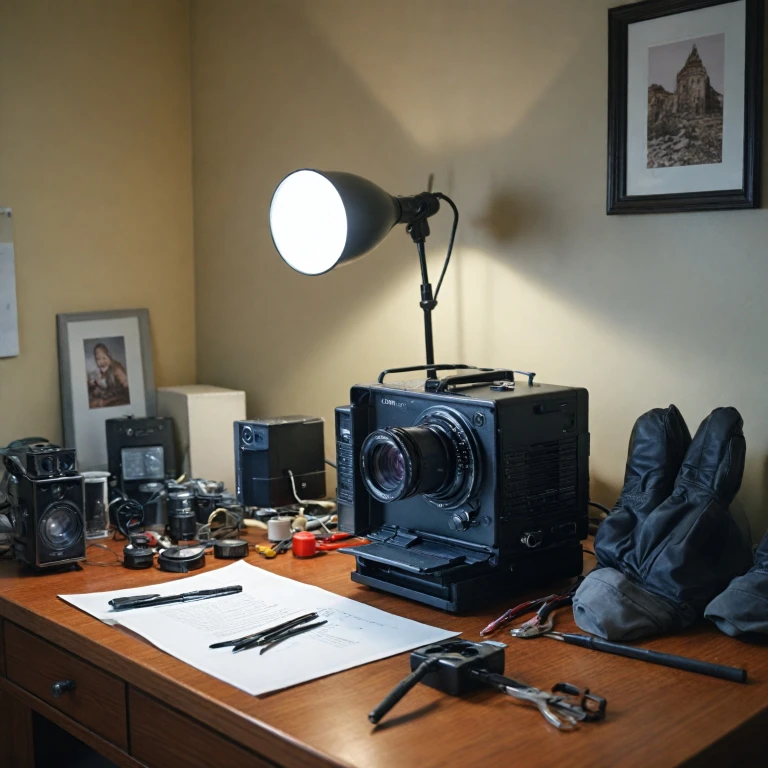
Replacing a projector lamp is a straightforward process when you follow the correct steps. Whether you're dealing with a residential projector or a high-end setup, changing a projector bulb can significantly improve your viewing experience. Here's a step-by-step guide to help you execute this task effectively.
1. Safety First: Before you do anything, ensure your projector is turned off and unplugged from the power source. Allow the projector to cool down completely, as the lamp inside can get extremely hot after use.
2. Access the Lamp Compartment: Locate the lamp compartment on your projector. This will vary based on the model. Typically, the compartment is secured with screws. Detach these screws using a screwdriver to access the bulb.
3. Remove the Old Lamp: Gently extract the old projector bulb from its housing. Be careful not to break the bulb as you remove it. Proper disposal of old projector lamps is also important, as they contain hazardous materials.
4. Install the New Lamp: Carefully insert the new replacement lamp into the compartment. Ensure it's securely in place before tightening any screws. The lamp housing should fit snugly, confirming that it will remain stable during operation.
5. Close the Compartment: Once the new bulb is in place, reattach the cover to the lamp compartment, securing it with screws as needed.
6. Reset the Lamp Timer: After installation, you'll need to reset the lamp timer or lamp counter on your projector. Access the menu using the remote control and find the settings for the lamp replacement timer. Follow the instructions to reset it, ensuring accurate tracking of your new lamp's hours.
7. Test Your Setup: Plug your projector back in and turn it on. Test to confirm the new lamp works correctly. Navigate through the menus using the remote to ensure everything is functioning optimally.
There you have it—a comprehensive guide to help you replace and reset your projector lamp efficiently. For an even more immersive cinema experience, consider enhancing your home theater with a motorized DJ projection screen. Following these steps will ensure that your projector lamps remain in excellent condition, extending their lifespan significantly.
Maintenance Tips for Extending Lamp Life
Prolong the Life of Your New Projector Lamp
Once you've successfully changed the projector lamp, it's essential to adopt habits that will prolong its lifespan and give you more value for your money. Here are some maintenance tips to consider:- Turn Off Properly: Always use the remote control or the projector's power button to turn it off. Avoid cutting power immediately to allow proper cooling time for the bulb inside the projector. This prevents thermal shock and prolongs the lamp's life.
- Monitor Lamp Hours: Frequently check the lamp hours using the on-screen menu. Understanding how many hours your lamps have been used can help you anticipate when a replacement projector bulb will be necessary. Consider resetting the lamp counter after installing a new bulb to keep accurate track.
- Control the Environment: Reduce the projector's operational temperature by keeping the lamp compartment clean and well-ventilated. Dust accumulation can lead to overheating, so regularly clean the projector and ensure nothing obstructs the air vents.
- Use Economy Mode: Most modern projectors have an eco-mode or low-power setting. This mode dims the projector lamp slightly, consuming less power and generating less heat, thus extending the lamp's lifespan.
- Keep It Clean: Regularly clean the projector's lens and exterior. Accumulated dust can affect the picture quality and block ventilation, so make cleaning part of your routine maintenance.
Troubleshooting Common Issues After Replacement
Resolving Issues Post Lamp Replacement
After successfully replacing your projector lamp, you may encounter a few common issues that require attention. Here's a guide to help you navigate these challenges and ensure your projector functions optimally.- Initial Lumen Output Concerns: If the brightness appears inconsistent or dim right after replacement, check if the bulb is properly seated inside the projector. Ensure the lamp housing is securely closed, as a loose fitting may interfere with the projected image quality.
- Projector Fails to Turn On: If your projector does not power on post-lamp installation, verify that all screws securing the lamp compartment are tightened. Additionally, confirm that the power source is functional and the remote control is operational by replacing its batteries if needed.
- Reset Lamp Timer: For accurate tracking of lamp hours post-replacement, reset the lamp timer. This usually involves navigating the projector menu using the remote control and locating the lamp counter reset option. Resetting helps maintain accurate records of lamp usage and facilitates timely lamp replacements in the future.
- Image Quality Deterioration: Should you notice any inconsistencies in image sharpness or color accuracy, consider revisiting the projector's settings via the menu. Adjust contrast, color, and alignment settings to improve the viewing experience. If the issue persists, inspecting the lens for dust or debris that might have settled during the lamp replacement process can be helpful.
When to Seek Professional Help
Signs You Need Professional Assistance
Replacing a projector lamp can be a straightforward process, but there are times when it’s wise to call in a professional. Here are a few indicators that you might need expert help:- Persistent Errors: If resetting the lamp counter in the projector menu doesn't resolve any error messages you’re encountering, it might indicate a deeper issue with the projector that requires technical expertise.
- Physical Damage: Visible damage to the lamp compartment or other internal components within the projector, such as broken screws or a damaged lamp housing, should be addressed by a professional to prevent further issues.
- Failed Tests: If, after attempting to change the projector bulb, the projector fails to turn on or doesn't function as expected, this could be a sign that the replacement projector lamp wasn't installed correctly or there is an issue with the power supply.
- Complex Projector Models: Some high-end projectors have complex designs where the lamp replacement process involves disassembling numerous parts. In such cases, a professional can ensure the lamp is properly installed without causing damage to intricate components.