![[High ANSI/ Official-NetfIix/360°Stand] Outdoor Projector with WiFi and Bluetooth, Auto Focus, Auto Keystone 4K Projector Native 1080P Support 50W DoIby Audio Smart Proyector](https://www.home-theater-projector-guru.com/storage/670933/conversions/71lHEc9xKFL._AC_SL1500_-medium.webp)
What interlaced and progressive scanning mean
How Video Frames Are Built: Interlaced and Progressive Approaches
When exploring home theater projectors, understanding how video frames are displayed can help you make sense of image quality and motion clarity. Two main techniques dominate: interlaced scanning and progressive scanning. Each method has a unique way of building the image you see on your screen, and this difference impacts your overall viewing experience.
- Interlaced scanning (often called interlaced video or interlaced scan) was developed to efficiently transmit video signals with limited bandwidth. Instead of drawing the entire image at once, interlaced displays split each video frame into two fields: one with all the odd-numbered lines, and another with the even-numbered lines. These alternating fields are shown in quick succession, creating the illusion of a complete image while using less data. This approach was common in older television systems and some early projectors.
- Progressive scanning (or progressive video, progressive scan) takes a different route. Here, each video frame is drawn line by line in sequence, from top to bottom. This means every line of the image is refreshed at once, resulting in smoother motion and higher visual fidelity. Progressive displays are now standard in most modern projectors and screens, especially those designed for high resolution and high quality video.
Both techniques aim to deliver a complete image, but the way they scan lines and handle motion can affect the quality you perceive. Interlaced video was a clever solution for its time, prioritizing efficiency and bandwidth savings. Progressive scanning, on the other hand, is favored for its ability to deliver crisp, stable visuals, especially on larger screens and with fast-moving content.
As you consider which projector technology best suits your needs, it’s also worth exploring how the light source—like laser or LED—can influence your viewing experience. For more on this, check out this guide on choosing between laser and LED projectors for your home theater.
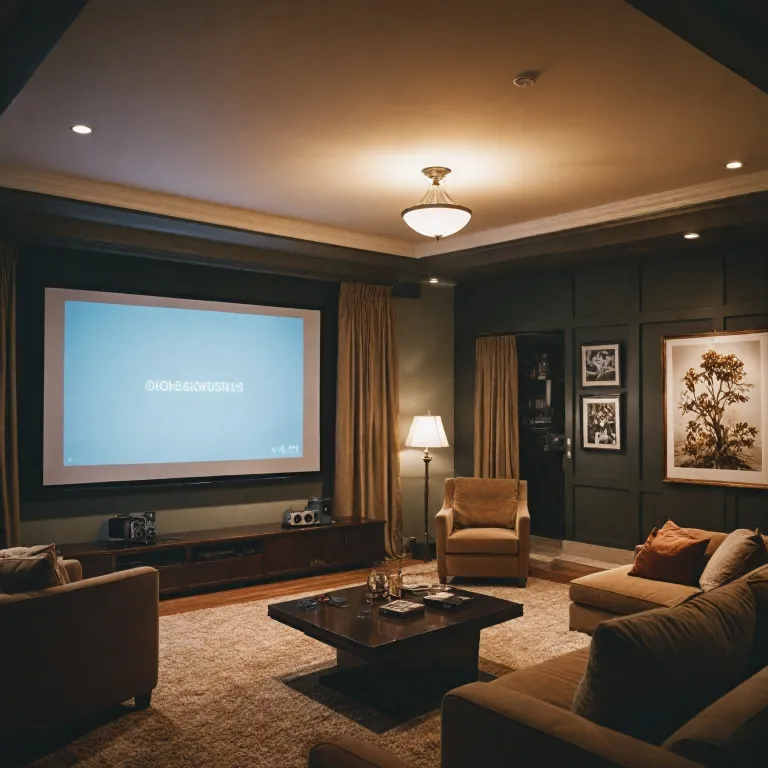
- + 4K UHD resolution for stunning visuals
- + Dolby Sound for immersive audio experience
- + Built-in Streaming Apps for easy access to content
- + Wi-Fi & Bluetooth connectivity options
- + Compatible with game consoles and smartphones
How interlaced and progressive affect image quality
How Scanning Techniques Shape What You See
The way your home theater projector handles video—whether through interlaced or progressive scanning—has a direct impact on image quality, motion clarity, and overall viewing experience. Understanding these differences helps you choose the right projector and settings for your needs.
- Interlaced scanning displays each video frame in two passes: first the odd lines, then the even lines. This approach was designed to save bandwidth and improve efficiency on older displays. With interlaced video, the screen is refreshed by alternating fields, which can sometimes create visible flicker or motion artifacts, especially on large or high-resolution screens.
- Progressive scanning draws every line of each frame in sequence, delivering the full image at once. This technique is standard in most modern displays and projectors, offering smoother motion and higher visual fidelity. Progressive video is especially noticeable in fast-moving scenes, where the image remains sharp and stable.
When comparing interlaced vs progressive, the differences in image quality become clear:
- Motion clarity: Progressive scan handles fast action better, reducing blurring and "combing" effects that can appear with interlaced scan, especially on large screens.
- Visual fidelity: Progressive displays maintain detail across the entire image, while interlaced video can sometimes appear softer or show visible scan lines.
- Efficiency vs quality: Interlaced scanning was efficient for older broadcast systems, but progressive scanning is now preferred for high quality home theater experiences.
Modern projectors are designed to maximize the advantages of progressive scanning, but understanding how your projector handles both interlaced and progressive content is key to getting the best results. For a deeper dive into how video encoding and scanning techniques affect your projector’s performance, check out this guide on popular IPTV encoders for home theater projectors.
Why progressive scanning is often preferred for home theaters
Why progressive scan delivers a superior home theater experience
When it comes to enjoying movies and shows on a home theater projector, the difference between interlaced and progressive scanning is more than just technical jargon. Progressive scanning is often preferred because it directly impacts the visual fidelity and overall quality of the image you see on your screen.
- Smoother motion and clarity: Progressive video displays every line of each video frame in sequence, rather than alternating odd and even numbered lines like interlaced scanning. This approach eliminates the flicker and motion artifacts that can occur with interlaced video, especially during fast-moving scenes. The result is a smoother, more natural motion that enhances the cinematic experience.
- Higher image quality: With progressive scan, each frame is complete, so you get full detail in every moment. This is especially noticeable on high resolution displays, where interlaced scan techniques can introduce visible lines or combing effects. Progressive displays maintain sharpness and clarity, making them ideal for large screens and close viewing distances.
- Better compatibility with modern displays: Most current home theater projectors and TVs are designed to work best with progressive signals. Progressive scanning matches the native display technology, so there’s no need for the projector to convert interlaced fields into progressive frames. This efficiency reduces processing delays and potential loss of quality.
- Consistent visual experience: Progressive video ensures that every frame is presented as intended, without the risk of mismatched fields or artifacts. This consistency is crucial for immersive viewing, where even minor disruptions can break the sense of realism.
While interlaced video was once a bandwidth-saving solution for broadcast television, today’s home theater setups benefit from the high quality and reliability of progressive scanning. If you want to further enhance your projector’s performance, consider learning about how a video mixer can optimize your home theater projector experience by improving signal handling and visual effects.
![[Built-in Official Apps/4K Support] Smart Outdoor Projector with WiFi and Bluetooth, 800ANSI Movie Projector, DoIby Audio with Dual Speaker, Auto Focus w/ YouTube&PrimeVideo Proyector, Upgrad P62 Pro Standard Black](https://www.home-theater-projector-guru.com/storage/677458/conversions/81GBqwrIy-L._AC_SL1500_-medium.webp)
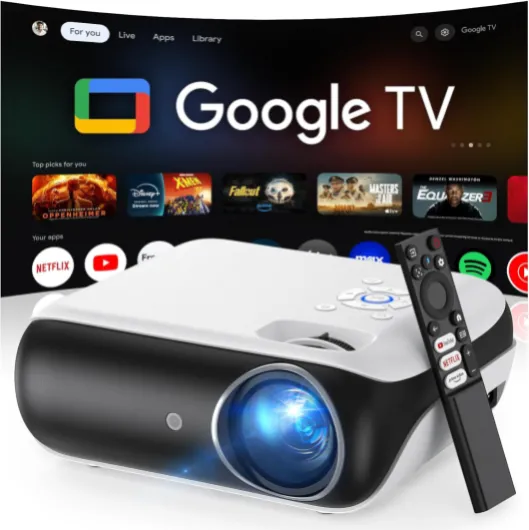
- + 4K Support for high-resolution movies
- + Built-in Official Apps like YouTube & Prime Video
- + 800 ANSI Lumens for bright images
- + WiFi and Bluetooth connectivity
- + Auto Focus feature for easy setup
When interlaced content still matters
Situations Where Interlaced Video Still Appears
While progressive scanning is now the standard for most modern displays and home theater projectors, interlaced video content has not disappeared entirely. Understanding when and why interlaced scanning still matters can help you get the best image quality from your projector setup.
- Broadcast TV and Legacy Content: Many traditional broadcast TV signals, especially those using older standards, still use interlaced video. Classic DVDs, some cable channels, and archival footage are often encoded in interlaced formats. This means your projector may need to handle both interlaced and progressive video sources, depending on what you watch.
- Older Game Consoles and Media Players: Devices from previous decades often output interlaced scan signals. If you enjoy retro gaming or watching older media, your projector’s ability to process interlaced frames and convert them to progressive scan can impact your viewing experience.
- Bandwidth and Efficiency: Interlaced techniques were originally developed to reduce the bandwidth required for transmitting video. By sending alternating fields (odd lines, then even lines), interlaced scanning could deliver smoother motion with less data. While this approach is less common today, some live broadcasts and security camera feeds may still use interlaced video for efficiency.
When your projector receives interlaced video, it must deinterlace the signal—converting the alternating fields into full progressive frames. The quality of this conversion affects visual fidelity, motion clarity, and overall image quality on your screen. Not all projectors handle this process equally well, so it’s important to check your projector’s specifications and settings for optimal performance with both interlaced and progressive content.
In summary, while progressive displays and progressive scanning are preferred for high resolution and high quality home theater experiences, interlaced video still appears in certain scenarios. Being aware of these situations helps you make informed choices about your projector and the content you enjoy.
Projector compatibility and settings for interlaced vs progressive
Checking Your Projector’s Support for Different Video Signals
When setting up a home theater projector, it’s important to know how your device handles both interlaced and progressive video. Most modern projectors are designed to display progressive scan signals, which means they show all the numbered lines of a video frame in sequence. This approach delivers higher image quality and smoother motion, especially for fast-moving scenes. However, some content—like older DVDs or broadcast TV—may still use interlaced scanning, where the image is split into alternating fields of odd and even lines.
How Projectors Process Interlaced and Progressive Content
Projectors that support both interlaced and progressive video typically include a deinterlacing feature. This process converts interlaced video into a progressive format, so the display can show the full frame at once. The quality of this conversion can vary between models. High quality deinterlacing preserves visual fidelity and reduces artifacts like combing or flickering, which can otherwise impact your viewing experience.
- Progressive displays: Most current projectors are progressive displays, meaning they expect a progressive scan input for optimal performance.
- Interlaced scan compatibility: If your projector receives an interlaced signal, it will use internal processing to convert it to progressive. The efficiency of this process affects overall image quality.
- Settings: Some projectors allow you to select the input type or adjust deinterlacing settings. Check your projector’s menu for options related to video input, scan type, or motion processing.
Bandwidth and Resolution Considerations
Interlaced video was originally developed to save bandwidth, as it transmits half the image (alternating fields) at a time. Progressive video, by contrast, sends the entire frame in one go, requiring more bandwidth but delivering better clarity and motion. When connecting sources to your projector, ensure your cables and devices support the resolution and scan type you want—especially if you’re aiming for high resolution or high frame rates.
Optimizing for the Best Visual Experience
For the highest quality image, use sources and settings that output progressive video whenever possible. If you must use interlaced content, rely on your projector’s deinterlacing capabilities or use an external video processor for improved results. Always match your projector’s settings to the source for the best efficiency and visual experience on your screen.
Tips for optimizing your projector’s performance
Fine-Tuning Your Projector for the Best Visual Fidelity
Getting the most out of your home theater projector means more than just choosing between interlaced and progressive scanning. To truly enhance image quality and enjoy high resolution visuals, a few practical adjustments can make a noticeable difference.- Match Source and Display Modes: If your video source outputs progressive video, set your projector to display progressive scan. This ensures each video frame is shown in full, maximizing clarity and reducing motion artifacts. For interlaced video sources, check if your projector can deinterlace and convert to progressive for smoother playback.
- Adjust Sharpness and Contrast: Fine-tune these settings to avoid exaggerating the lines or fields that can appear with interlaced scanning. Progressive displays often benefit from a moderate sharpness setting, which helps maintain detail without introducing noise.
- Enable Motion Smoothing Carefully: Some projectors offer motion enhancement features. While these can help with fast-moving scenes, overuse may create an unnatural look. Test with different content types to find the right balance for your screen and personal preference.
- Check for Firmware Updates: Manufacturers often release updates that improve efficiency, compatibility, and image processing. Keeping your projector’s software current can help with better handling of both interlaced and progressive content.
- Use High-Quality Cables: A reliable HDMI or digital video cable preserves bandwidth and ensures the signal from your source to your projector remains strong, supporting high quality video frames and minimizing artifacts.
- Optimize Room Lighting: Ambient light can wash out the image and reduce perceived quality. Use blackout curtains or dimmable lights to help your projector display crisp lines and vibrant colors, whether you’re watching interlaced or progressive content.
Understanding Your Projector’s Scan Settings
Projectors often provide options to select between interlaced scan and progressive scan modes. Familiarize yourself with these settings:- Progressive Scanning: This approach draws all numbered lines in sequence, resulting in smoother motion and higher visual fidelity, especially noticeable on large screens.
- Interlaced Scanning: Displays alternating fields (odd lines, then even lines) per frame. While this technique was designed for bandwidth efficiency, it can introduce flicker or visible scan lines on modern displays.
Additional Tips for High-Quality Home Theater Viewing
- Calibrate your projector regularly using test patterns to ensure accurate color and contrast.
- Position your projector and screen to minimize keystone distortion, which can affect image quality.
- Consider the advantages interlaced and progressive techniques offer for different types of content—sports and fast action often look better with progressive displays, while some classic video sources may still use interlaced formats.

![[Built-in Official Apps/4K Support] Smart Outdoor Projector with WiFi and Bluetooth, 800ANSI Movie Projector, DoIby Audio with Dual Speaker, Auto Focus w/ YouTube&PrimeVideo Proyector, Upgrad P62 Pro Standard Black](https://www.home-theater-projector-guru.com/storage/677458/81GBqwrIy-L._AC_SL1500_.jpg)