Understanding Suspended Ceilings
Decoding the Intricacies of Drop Ceilings for Home Theater Projects
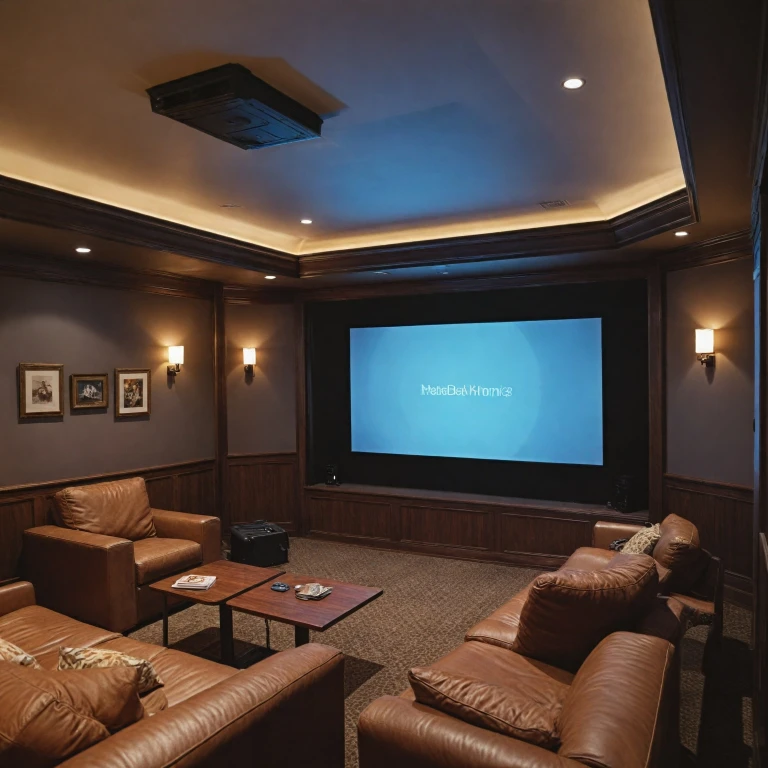
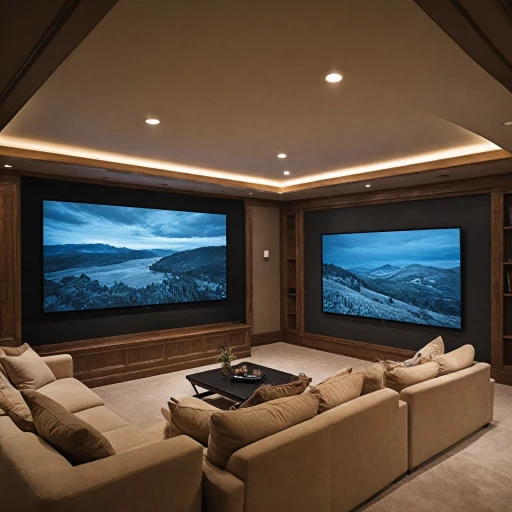
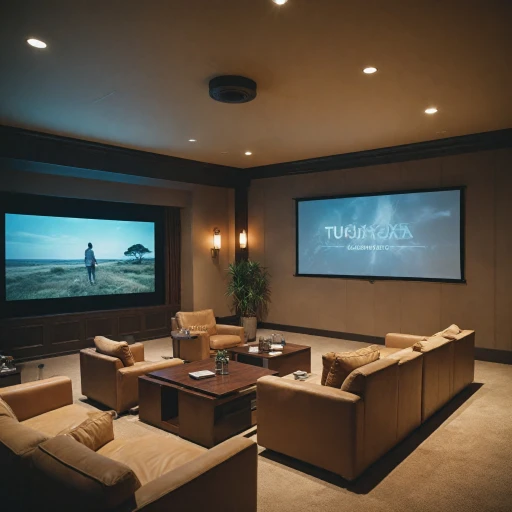
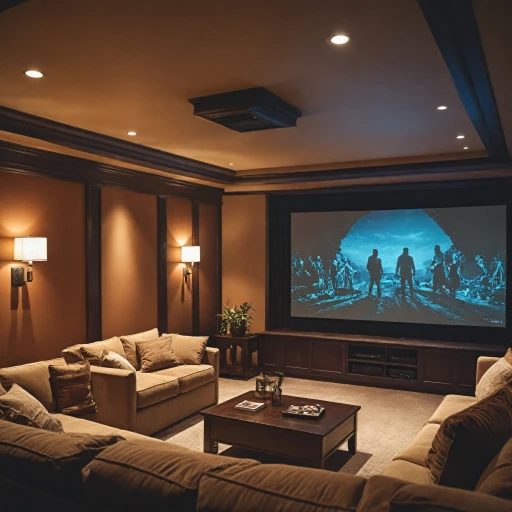
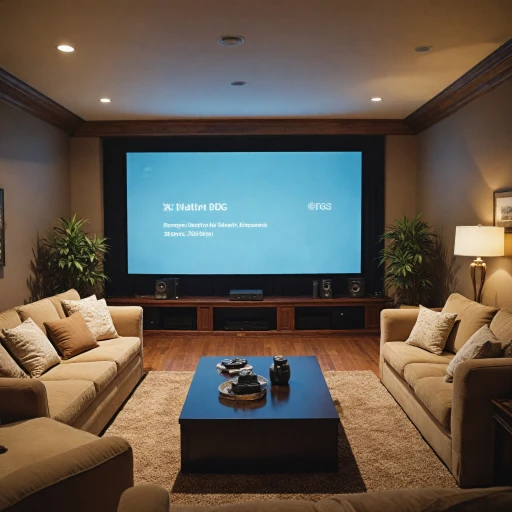
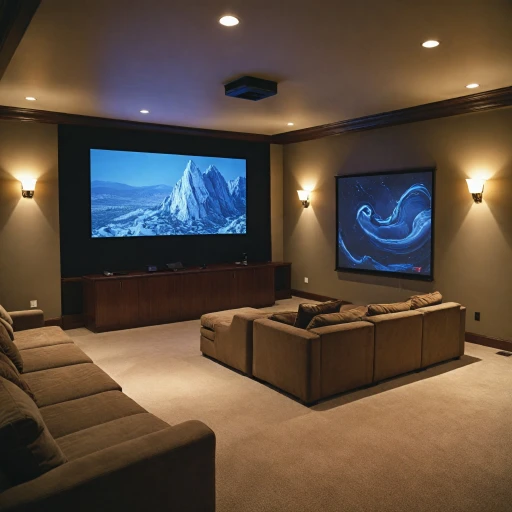
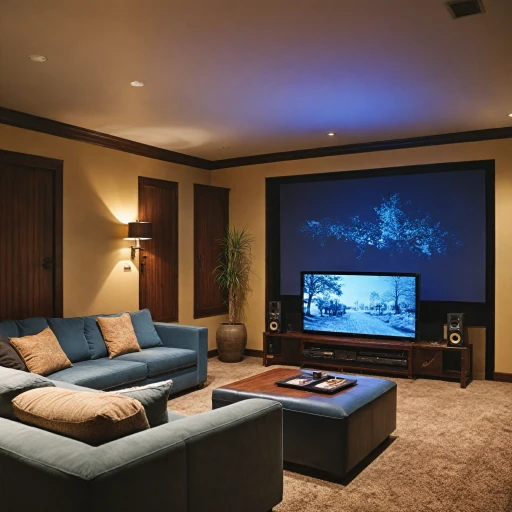
Suspended ceilings, commonly known as drop ceilings, are popular for various projects, including home theaters. They provide a unique framework consisting of ceiling tiles, metal grids, and a suspended setup that promotes aesthetics and sound dispersion. For those seeking to install a ceiling mount, these ceilings present an interesting blend of challenges and advantages.
One major consideration is the ceiling tiles used. These tiles should accommodate both the weight and dimensions of the chosen mounting kit. It is necessary to ensure the weight capacity of any specific ceiling mount aligns with the support structure available. The importance of understanding the material makeup of the ceiling becomes immediately evident when considering the complexity of integrating a projector mounting system.
The aesthetic appeal cannot be overlooked. Modern mounting solutions allow for installations where the hardware is nearly invisible, seamlessly integrating with the room's existing decor. With a keen eye on design considerations, one might evaluate options like white or black mounts, which can blend into or accentuate the ceiling.
Particularly, brands like Chief offer varied options, often accompanied by outstanding customer reviews and competitive price points. Such brands become vital resources when balancing the intricate lattice of tile and grid systems. More comprehensive product information can be gathered by exploring reviews and ratings to understand the role of the Chief Offset Fixed Ceiling Plate and its benefits.
To achieve an optimal projector system within suspended ceilings, it is essential to delve deeper into the elements that make up these ceilings. Harnessing expertise in selecting an appropriate ceiling tile and ensuring appropriate mount compatibility ensures the longevity and effectiveness of the installation. Consideration of these factors guarantees a successful and aesthetically pleasing home theater setup.
Choosing the Right Projector Ceiling Mount
Factors to Consider When Selecting a Projector Ceiling Mount
Choosing the right projector ceiling mount is essential for optimizing the effectiveness of your home theater system. Several factors should be considered before investing in a mounting solution that suits both your projection needs and your room's configuration.- Projector Compatibility: The selected mount must be compatible with your specific projector model. Most universal projector mounts are adjustable, accommodating various projector brands and models, whether you have an LCD or a laser projector. Always check the product's specifications for weight capacity and ensure it supports the weight of your projector.
- Ceiling Type: It's crucial to account for the type of ceiling when purchasing a ceiling mount. If you have a standard or suspended ceiling, you'll need a mounting kit designed specifically for that configuration. Suspended ceilings often require mounts that incorporate ceiling tiles for a more stable installation.
- Mounting Style and Adjustability: Some projector mounts provide additional features such as tilt, swivel, and rotation. Assess the flexibility required for your home theater; for instance, a black or white low-profile mount may be ideal for minimizing visual clutter. Reviewing customer reviews can offer insight into the mount's ease of use and reliability.
- Price and Brand Reputation: While price point is an important consideration, also check the mount's quality and the manufacturer’s reputation. Popular brands like Chief offer reliable products with features like a ceiling plate and tile support for enhanced stability. Be mindful of msrp price differences and explore free shipping options to get the best deal.
Preparing Your Installation Area
Preparing Your Projector Space
When setting up your home theater projector, especially in spaces with suspended or drop ceilings, preparation is key to achieving the best viewing experience. Here’s how you can get started effectively:- Assess the Ceiling Structure: Begin by understanding the current setup of your ceiling. Ensure that it can support the weight capacity of your chosen projector and mount. Most projector mounts provide detailed information on weight capacity in lbs, so it is essential to compare your ceiling’s capability against this before proceeding.
- Clear the Installation Area: Clear out any obstacles or furniture that might interfere with the installation process. You will need enough space to safely handle tools and equipment, such as the universal ceiling plate, which varies based on the projector kit you have chosen.
- Select Power Source and Connectivity: Identify the nearest power source and plan for cabling needs. You might want to consider solutions like VGA to HDMI converters to ensure seamless connectivity from your devices to the projector.
- Gather Tools and Materials: Make a checklist of all necessary tools and materials. This includes your chosen projector mounts such as the lcd or laser projector mount, mounting kits, screws, and safety equipment.
- Projector Positioning: Decide on the most suitable location for your projector. Consider projectors' msrp price range to determine quality and features that might influence placement. The placement should avoid any glare or obstructions for optimal image quality.
Step-by-Step Installation Process
Installing Your Projector on a Suspended Ceiling
Once you've prepared your installation area, it's time to begin the installation process for your projector ceiling mount on a suspended ceiling. Adhering to these steps will ensure a secure and effective setup.- Secure the Ceiling Plate: Start by focusing on the ceiling plate of your chosen mounting system. Depending on your ceiling type, you might need a special drill bit to work with the ceiling tile. Carefully mark the mounting points and ensure they align with your projector's weight capacity requirements. This initial setup will dictate the stability of your entire projector system.
- Assemble the Mount Kit: Once the plate is securely fastened, assemble the remaining components of your mount kit, such as the brackets, using the manufacturer's instructions. Make sure all screws and bolts are tightened properly to avoid any unwanted movement.
- Attach the Projector: Now, it's time to attach your projector to the mount. Those using a Chief product may benefit from the company's advanced universal projector mounts that cater to different shapes and sizes of projectors, such as lcd or laser projectors.
- Adjust the Position: With the projector mounted, adjust its position so it correctly aligns with your screen. A projector such as a professional-grade universal projector mount typically allows for easy tilt and swivel adjustments to perfect your image alignment.
- Confirm Stability and Tightness: After all adjustments are made, recheck all screws and connection points. A stable and tight fit is essential to support the weight capacity lbs of your projector and ensure longstanding reliability.
Cable Management Solutions
Managing Cables for a Neat and Tidy Setup
When setting up your projector system, paying attention to cable management can make a significant difference in the overall aesthetic and functionality of your home theater. A well-organized setup not only looks cleaner but also ensures better performance and eases troubleshooting down the line. To begin, ascertain the best routes for running your cables from the projector to the various components, such as your sound system, media player, and power source. Using existing paths within the suspended ceiling tiles can keep your cables hidden and protected. Consider these cable management solutions:- Cable Raceways: These are ideal for running cables along walls or ceilings. Available in various colors like white or black, they can blend in with your existing decor.
- Ceiling Channel Covers: Designed to work specifically with suspended ceilings, these covers support cables running across ceiling tiles, keeping them neat and preventing any risk of sagging.
- Wire Markers: Label your cables to identify quickly which wire connects to what device. This practice is particularly useful if you ever need to reroute or upgrade your projector or audio systems.
- Tie Wraps: Use these to bundle and secure cables together, reducing clutter and the potential for tangling.
Troubleshooting Common Issues
Common Challenges and Their Solutions
When dealing with a ceiling projector, especially on suspended ceilings, some challenges may arise. Here are some common issues and how to resolve them:- Projector Misalignment: It's a frequent concern when mounting projectors. Adjust the projector mount to ensure the lens is directly aligned with the screen. If needed, use the mount's adjustable features to fine-tune the position.
- Projector Image Issues: Sometimes the image might be blurry or distorted. Verify the projector's settings, including focus and zoom. For particularly complex adjustments, refer to the projector manual or online resources specific to your projector system.
- Inadequate Support for Projector's Weight: Ensure that the ceiling tile and mount can handle the projector's weight capacity. It’s crucial to check the mounts' specifications and reviews for weight capacity (lbs) to avoid any mishaps. Chief, for instance, offers a range of mounts specifically designed for varied weights.
- Cable Management Problems: As previously discussed, effective cable management is key. If cables are protruding or visible, use cable covers or raceways that match your ceiling’s color, whether black or white, to blend seamlessly with your setup.
- Ceiling Plate Instability: Make sure the ceiling plate is secured tightly. If it's loose, double-check the installation, as discussed earlier, and ensure the appropriate fasteners were used.
- Compatibility Concerns: Verify that the projector mount is compatible with your projector. For universal projector mounts, check the product details to confirm compatibility.

