Understanding the Benefits of a Ceiling-Mounted Projector
Why a Ceiling Projector Mount is a Game Changer
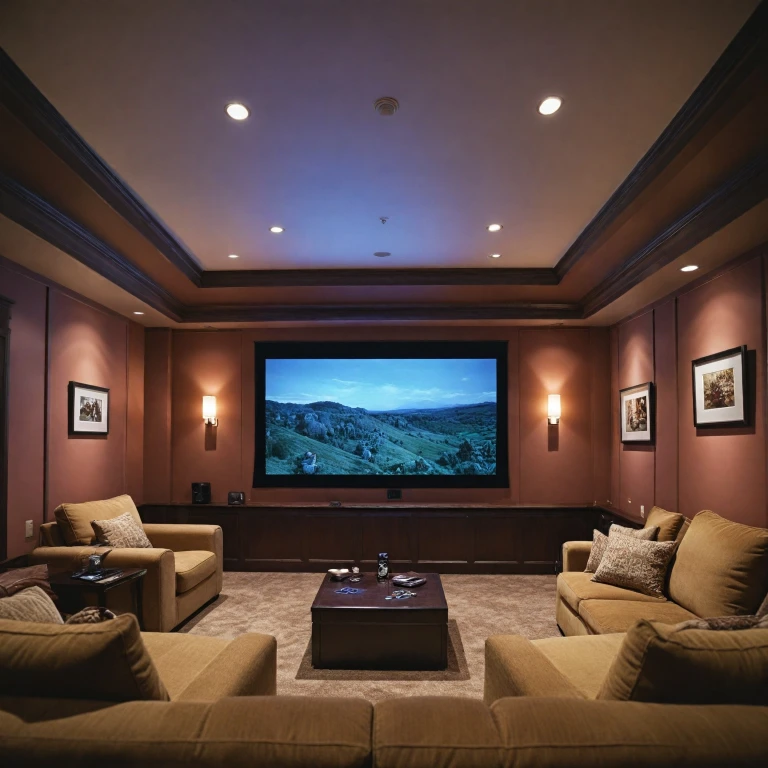
When it comes to creating an immersive home theater experience, mounting a projector on your ceiling can be transformative. Ceiling-mounted projectors offer unique advantages over placing a projector on a shelf or table, giving you a clutter-free setup and maximizing your room’s potential. Here, we'll break down why opting for a ceiling mount is beneficial for both the aesthetics and functionality of your home theater.
Reducing Room Clutter
One of the primary benefits of using a ceiling projector is the freedom from furniture constraints. With the projector overhead, you won't need to dedicate any valuable floor or shelf space, which means more room for other entertainment essentials. This approach uses vertical space effectively and contributes to a clean, organized appearance without messy wires or obstructed views.
Optimized Projection Angles
Ceiling mounts help achieve the best projection angles, minimizing image distortion and providing a more accurate display. A correctly installed ceiling projector can enhance the image quality, taking projector screens to new heights in terms of visual clarity. With this setup, light from the projector travels in a direct path to the screen, avoiding casting awkward shadows, and allowing ambient light to be managed effectively.
Fixed Frame Screens for Perfect Picture
Combining a mounted projector with a fixed frame screen significantly boosts the viewing experience. Fixed frame screens maintain constant tension, ensuring no sag or wrinkles, thereby delivering a sharper image. To achieve this, consider pairing with elite screens, particularly in environments where control over ambient light is challenging.
Keeping Your Budget in Mind
While ceiling-mounted projectors and screens are known for their impressive setup, it’s essential to consider the price product balance. There are numerous choices, from affordable white projectors to premium models with the best throw distances. Technical specifications like gain or light output can also influence the cost and performance, requiring careful selection based on your specific room requirements.
The convenience and aesthetics of a ceiling-installed projector can notably enhance your home theater experience. If you’re curious to explore more about how a ceiling-mount installation can upgrade your viewing sessions, visit Enhance Your Home Theater Experience with a Ceiling-Mounted Projector.
Choosing the Right Projector for Ceiling Installation
Factors to Consider When Selecting a Projector for Ceiling Mount
Choosing the right projector that aligns perfectly with your home theater setup involves a detailed evaluation of various features.- Brightness: Ensure the projector offers adequate lumens to combat ambient light in your room. A higher lumen count helps to maintain vibrant images, especially in rooms that aren't pitch black.
- Resolution: For the best viewing experience, opt for a projector that supports at least Full HD resolution. 4K projectors are excellent for ultra-sharp image quality, but these can vary significantly in price.
- Throw Ratio: Short throw and ultra short throw projectors are perfect for small spaces, allowing you to mount the projector closer to the screen. This choice minimizes distortion and maximizes image size without needing extensive space.
- Contrast Ratio: A higher contrast ratio means a better differentiation between dark and bright scenes, enhancing overall image quality. Pay attention to this specification, especially when planning ceiling-mounted setups.
- Portability: If flexibility is key, portable projectors can offer an adaptable solution, easily shifting locations. However, fixed installations such as a ceiling projector provide a more streamlined and less obtrusive setup.
- Additional Features: Features like keystone correction, lens shift, and zoom can assist in aligning the image perfectly on the screen without manual adjustments, crucial for ceiling-mounted projectors.
- Compatibility with Mounts: Ensure the selected product is compatible with ceiling mounting kits and has the necessary screw holes for mounting brackets. Elite Screens and other fixed-frame screens can often work well, but verification is advised.
Installation Tips for Ceiling Projectors
Step-by-Step Guide to Installing Your Projector on the Ceiling
Mounting a projector on the ceiling is a practical way to enhance your home theater setup, offering a clean, professional look while saving space. It's crucial to approach this task with care to ensure optimal performance and safety. Follow these steps for a smooth installation.
- Select a Suitable Location: Before you begin, decide where the projector should be placed. Ensure it aligns with your screen or wall and can accommodate the throw distance of your specific model, be it a short throw or standard projector. Consider the room's lighting and how ambient light might affect the image quality.
- Assemble the Ceiling Mount: Many mounts come with an instruction manual that details the assembly process. Ensure that the mount you choose is compatible with your projector's weight and size. A quality ceiling mount will provide adequate support and might need to be adjusted depending on your projector's design.
- Attach the Mount to the Ceiling: Use a stud finder to locate the joists in the ceiling, providing the required support for the mount. Mark the drill holes, and attach the mount securely using the appropriate screws and anchors.
- Connect the Projector: Once the mount is securely in place, attach your projector. Most mounts will have adjustable arms that allow you to fine-tune the positioning. This feature is helpful in avoiding image distortion and achieving the best projection quality.
- Align with the Screen: Ensure that the projected image aligns with your screen. Tools like a laser level can help accurately adjust for tilt and keystone corrections. Remember, the distance will also impact the image size and clarity.
- Setup the Wiring: Neatly run cables along the ceiling or walls. Consider using cable management solutions to keep everything tidy and reduce tripping hazards.
Proper installation will not only secure the projector but also enhance your viewing experience. For further insights on enhancing your home setup, consider exploring using a motorized projection screen to complement your ceiling-mounted system.
Optimizing Your Viewing Experience
Maximizing Image Quality for Your Home Setup
To truly enhance the viewing experience with a ceiling-mounted projector, it's essential to maximize image quality. Start by choosing a projector with an appropriate throw ratio based on the size of your room and the desired size of the projector screen. A short throw or even ultra short throw projector may be necessary for smaller spaces to avoid casting shadows on the screen.
Navigating Room Lighting for Ideal Viewing
Ambient light can be a significant disruptor when trying to enjoy a movie at home. To combat this, use projector screens with a higher gain to improve image brightness even when the room cannot be completely darkened. A fixed frame screen can also help maintain consistent image quality by preventing wrinkles and deformation common in portable projector screens.
Essential Adjustments for Visual Clarity
Proper adjustment of your projector is crucial for achieving the best picture quality. Begin by perfectly aligning the image with the edges of the screen using the mount's manual adjustment options. Ensure that the projector ceiling mount is securely installed to prevent any unnecessary movement. If necessary, calibrate the projector settings, such as color balance and contrast, to suit both the screen and environment.
The Importance of Screen Selection
Your choice of screen plays a huge role in the final viewing experience. While a white or screen manual might be the most budget-friendly choice, investing in a product from recognized brands like Elite Screens may offer better quality and durability. For those who love star projector effects during movie nights, pairing such features with ceiling-mounted projectors can create a captivating home cinema atmosphere.
Maintenance and Troubleshooting for Ceiling Projectors
Maintaining Optimal Functionality
To ensure your ceiling-mounted projector provides the best viewing experience, regular maintenance is key. Whether it’s periodically checking the projector’s components or adjusting the projector screen, small actions can go a long way in preserving the quality of your setup. Below are essential tips focused on maintenance and troubleshooting:
- Regular Cleaning: Dust buildup can interfere with the clarity of the image. Wipe the projector, especially the lens, with a microfiber cloth to keep the image sharp. Also, check the ceiling mount and projector screens for dust accumulation.
- Check Ventilation: Ensure the ceiling projector’s air vents are not obstructed. Overheating can compromise the projector's performance. Clear vents allow the projector to stay cool, preserving its longevity.
- Update Software: If the projector comes with firmware updates, keep it updated to benefit from the latest features and improvements.
- Screen and Room Adjustment: Assess the projector screen's alignment periodically. Any minor misalignment could impact the best image quality. Also, control ambient light in the room to maintain optimal screen gain performance.
- Troubleshoot Image Issues: Encountering a blurred or dim image frequently? Use the manual to adjust focus settings or replace the bulb if necessary.
- Sound Issues: A common issue with mounted projectors is sound echoing. Consider wall treatments or using a portable projector in smaller rooms to manage sound leakage.
When the projector or projector screen fails to perform as expected, a methodical approach can often identify the problem. Notably, maintenance practices ensure the longevity and reliability, making the investment in a ceiling-mounted product worthwhile and maintaining the pleasure of that "stars"-quality cinematic experience.
Comparing Ceiling Projectors to Other Mounting Options
Comparing Ceiling-Mounted Projectors With Alternative Options
When deciding on the best setup for your home theater, you might be wondering how ceiling-mounted projectors fare against other mounting options. The choice ultimately depends on your unique needs and the layout of your room. Here’s a comparison to help guide your decision:- Ceiling-Mounted Projectors: These are ideal if you want a clean, permanent installation without wires running across your room. With options like short throw and ultra-short throw projectors, you can achieve a big screen effect even in smaller spaces. The ceiling setup keeps your projector safe from spills and accidents, ensuring longevity alongside optimal light projection onto any ambient light-sensitive projector screens.
- Tabletop Placement: This is a flexible, cost-effective option, especially for those using a portable projector. It's great for rooms where a fixed position isn’t possible. However, cables can clutter and may not provide the same streamlined aesthetic as ceiling mounting.
- Wall-Mounted Solutions: Wall mounts provide stability similar to ceiling mounts and can be great if your room's layout doesn't lend itself to a ceiling installation. It’s important to evaluate the wall’s suitability to bear the weight of the projector and to ensure proper image alignment with your projector screen.
- Tripod or Stand Mounts: Tripods offer portability and an ease of setup that fixed mounts do not. This might be preferred if the projector frequently moves between locations. Although not as secure or elegant as ceiling mounts, they provide flexibility in adjusting the height or throw of the projector.