Understanding Projector Screen Paint
Decoding the Magic Behind Screen Paint
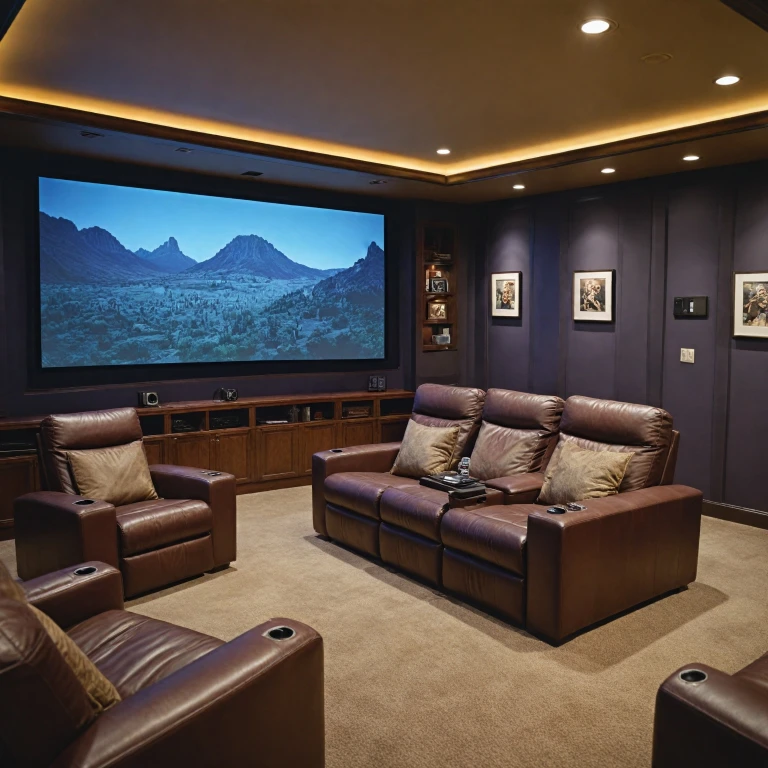
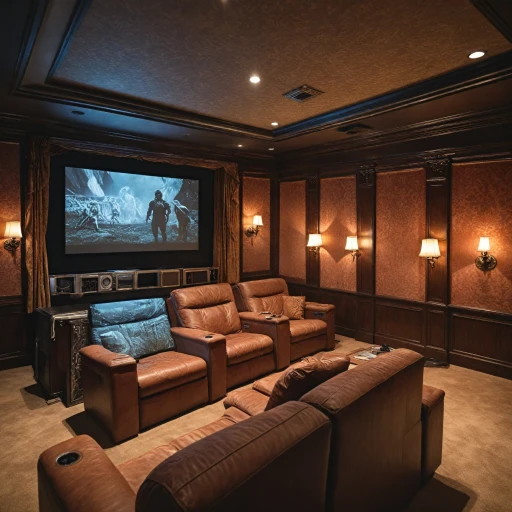
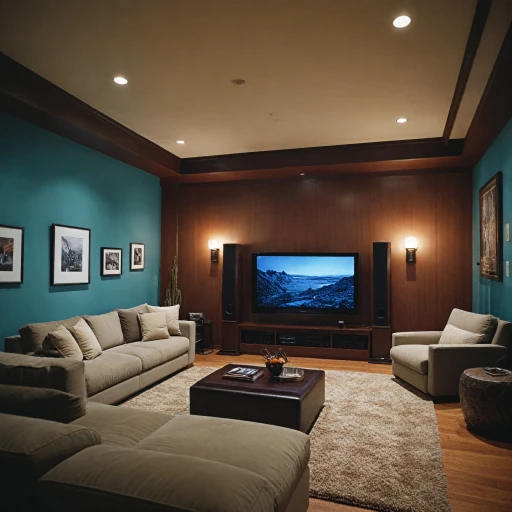
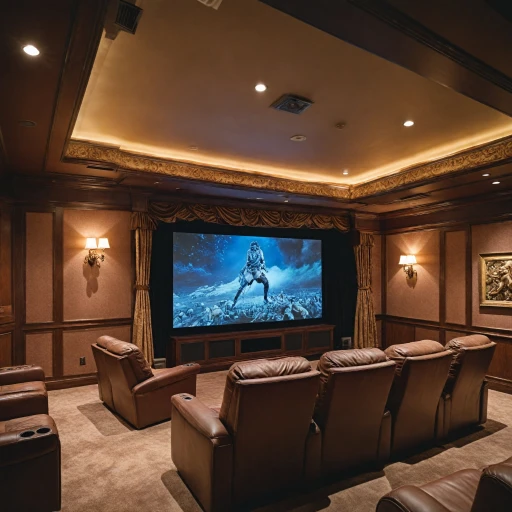
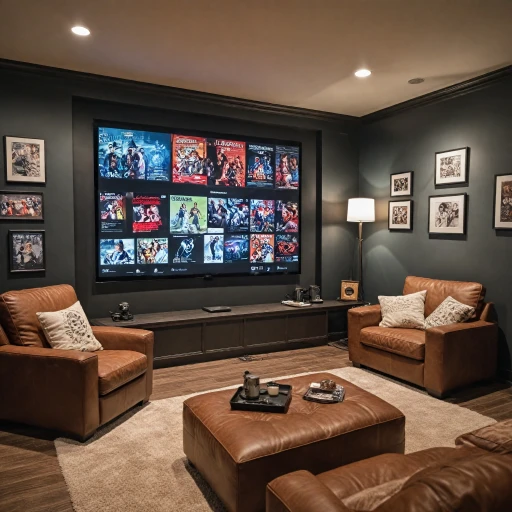
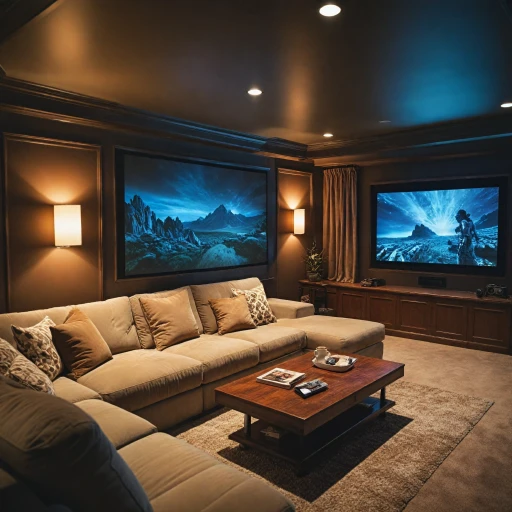
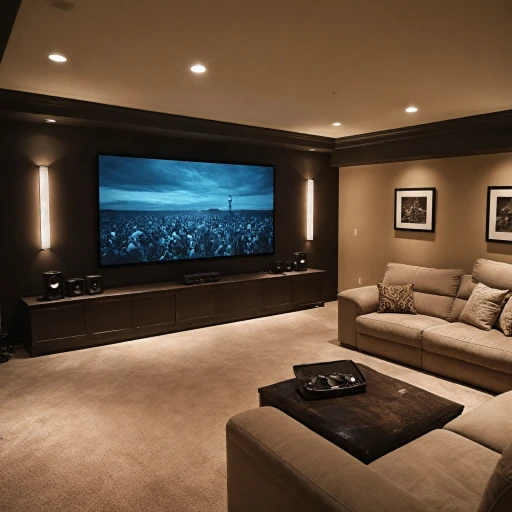
Integrating a movie projector into your home theater can significantly elevate your viewing experience. To maximize image quality, many enthusiasts turn to specially formulated screen paints. These products transform ordinary walls into high-performing projection screens, offering an alternative to traditional fixed frame or inch projector screens. Projection screen paints are formulated to provide optimal reflectance and color balance for various projectors, whether you have a short throw, ultra short throw, or standard projector. They work best on smooth surfaces with paints specifically mixed to handle ambient light conditions while maintaining high contrast ratios. A gallon of the right paint can cover a substantial area, providing a cost-effective solution compared to pricier projector screens. The type of paint you select (white or black) will affect the screen’s performance, particularly how it manages light and contrast. White projector paint tends to reflect more light, yielding a brighter image, while black options like Black Widow can enhance color accuracy and contrast. To explore the specifics of how a projector screen paint might complement your home theater setup, you may want to learn more about choosing the perfect projection screen that suits your needs best.Benefits of Using Projector Screen Paint
The Advantages of Integrating Projector Screen Paint
Investing in projector screen paint can transform any room into a personalized theater experience, offering several noteworthy benefits.- Cost-Effectiveness: Opting for screen paint instead of a traditional fixed frame projector screen is often easier on the wallet. While projector screens can come with a hefty price tag, a couple of gallons of quality projector paint usually come at a fraction of the cost, making it a budget-friendly solution for home theaters.
- Versatile Application: Screen paints are designed to be applied directly onto a wall, allowing you to adapt the projection surface to any size or layout. This is particularly useful for short throw and ultra short throw projectors, as the painted wall will cater to custom dimensions without constraints imposed by pre-sized projection screens.
- Flexibility in Surface Customization: By choosing the right type of paint, you can significantly enhance image quality. Paints with light rejecting or ambient light reduction properties can help maintain high contrast and optimal clarity in various lighting conditions, providing an exceptional viewing experience.
- Space-Saving: Unlike traditional projector screens, paint screens require no additional equipment or frames. This allows for a clutter-free setup, preserving space and maintaining a sleek aesthetic in your home theater.
- Custom Color Options: Depending on your projector and ambient light conditions, specific paints, like white, gray, or even black, can be selected to maximize image clarity and contrast. White projector paint tends to work best in dedicated dark rooms, while gray or black paints are more suitable for spaces with ambient light.
Choosing the Right Paint for Your Needs
Finding the Perfect Screen Paint for Your Home Theater
Choosing the right paint for your home theater projection screen is crucial to achieving the best viewing experience. The type of paint you select will significantly impact the quality of your image, affecting factors such as contrast, color accuracy, and brightness. Here are some key considerations to keep in mind when selecting your projector screen paint:
- Surface and Texture: Ensure your wall is smooth and free of imperfections. A smooth surface will help the paint adhere better and provide a clearer image. Consider using a primer if your wall needs preparation.
- Color and Gain: While white is a common choice for screen paint, black or gray paints can enhance contrast, especially in rooms with ambient light. The gain of the paint, which measures reflectivity, should match your projector's specifications for optimal performance.
- Type of Paint: Look for paints specifically designed for projection screens. These products are formulated to enhance image quality and are often labeled as "projector paint" or "screen paint." Brands like Black Widow offer specialized options.
- Ambient Light Considerations: If your room has a lot of ambient light, consider light-rejecting paints that help maintain image clarity. These paints are particularly beneficial for short throw and ultra short throw projectors.
- Price and Quantity: Projector screen paints vary in price, and a gallon can cover different areas depending on the paint's thickness and your wall's size. Calculate the amount you need to avoid overspending.
By carefully selecting the right paint, you can transform your wall into a high-quality projection screen that rivals traditional projector screens. For more insights on enhancing your home theater setup, consider exploring recessed TV mounts as an additional upgrade.
Step-by-Step Application Process
Application Process for Projector Screen Paint
To achieve the optimal projection surface, applying projector screen paint involves a meticulous process. Here's a step-by-step guide to help you create a superior viewing experience.- Surface Preparation
- Choosing the Right Tools
- Priming the Wall
- Applying the Paint
- Ambient Light Considerations
- Final Touches
Comparing Projector Screen Paint to Traditional Screens
Weighing Paint Against Traditional Screens
When it comes to enhancing your home theater experience, one might wonder how screen paint measures up against traditional projector screens. The choice between using paint or projector screens depends on various factors such as cost, installation, and performance.
Screen paints offer a versatile and often cost-effective alternative to fixed frame or retractable screens. With a gallon of high-quality projector paint, you can transform any smooth surface into a projection screen. This adaptability means you won't be limited by the constraints of a fixed surface size, allowing for a customized viewing experience, whether it be an ultra-short throw setup or a classic movie projector.
Price is another consideration. Traditional projector screens can sometimes come with a hefty price tag, especially for larger sizes or higher-end materials that enhance contrast and gain. Screen paint, on the other hand, can be a more budget-friendly product that still offers solid performance, particularly in controlled ambient light conditions.
Performance-wise, paint is generally tailored to work well with a variety of projectors, utilizing coatings that enhance contrast ratios and light distribution. However, traditional screens often have specific gain values and ambient light rejecting properties that can be advantageous in more challenging lighting environments. This makes them suitable for spaces where light control is difficult, whereas paint might require more precise setup to avoid projection issues.
In terms of installation, paint provides an uncomplicated application process. By using a roller or sprayer on a prepared wall, the application is straightforward compared to the setup and mounting of projector screens, which can be more labor-intensive and require precise alignment to ensure optimal viewing.
Ultimately, both options have their pros and cons. While screen paint offers simplicity and flexibility, traditional screens can deliver highly specialized performance depending on the projection environment. Your decision should balance your budget, space constraints, and specific viewing preferences to achieve the best home theater experience.

