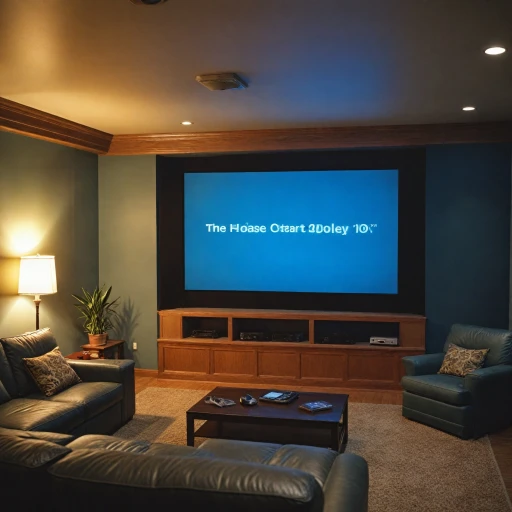
Understanding the Basics of Projecting onto a White Wall
Fundamentals of Home Theater Projection on White Walls
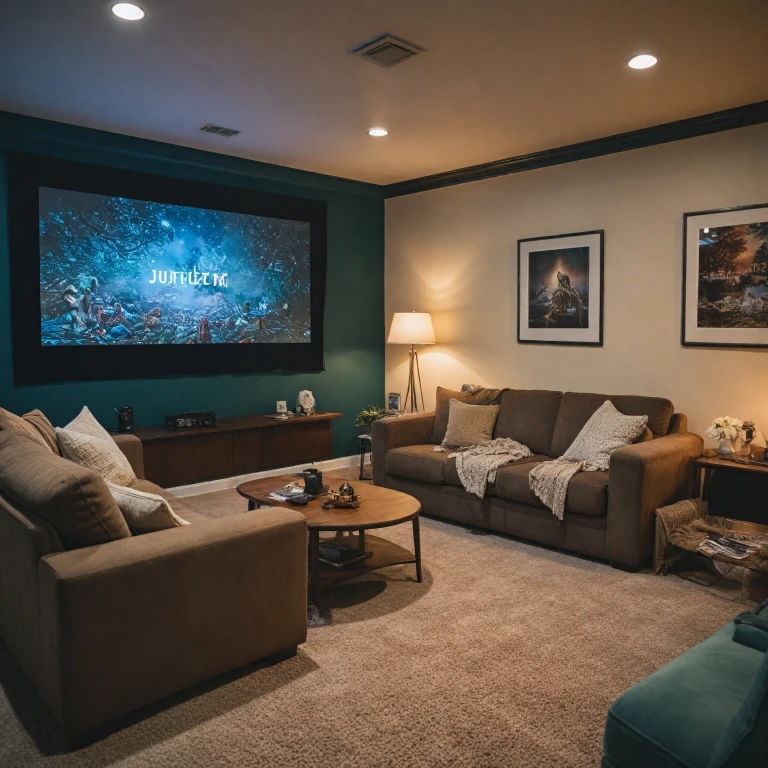
When setting up your home theater, understanding how to project onto a white wall involves several key aspects that improve your viewing experience. A white wall can serve as an effective canvas for your projected image, offering certain advantages over traditional projector screens. Firstly, the wall’s surface plays a crucial role in determining the quality of the projection. A smooth and even white wall can reflect light evenly, producing better image quality compared to textured walls. The quality of the projected image depends significantly on the wall's condition. Small imperfections on the wall can impact the clarity and contrast of the projection, so proper preparation of the wall is essential. Use high-quality projector paint to enhance color accuracy and contrast, converting your white wall into a more effective projection screen. The right type of paint ensures that ambient light doesn't diminish the viewing experience, maintaining high contrast for sharper images. Ambient light management is another consideration. Reducing ambient light in your projection area can make a dramatic difference. Even the best projectors might struggle with maintaining high contrast in bright environments. Darkening the room or using curtains can significantly improve viewing quality. Projector type and placement also play a part in this setup. Short throw projectors are particularly well-suited for projecting onto walls, providing large images at a close distance without distortion. A quality projector with high lumens can offer vibrant and immersive viewing. By addressing these factors thoughtfully, you can transform a simple white wall into a top-notch projection screen for an enhanced home theater experience. For more detailed guidance on optimizing your home theater setup, be sure to explore these expert insights.Advantages of Using a White Wall for Projection
Discover the Benefits of a White Wall for Projection
Projecting onto a white wall offers several appealing advantages that can enhance your home theater experience without the need for a traditional projection screen. A white wall provides a seamless and expansive surface for your projected image, creating an uninterrupted viewing canvas. This simplicity is especially attractive for those who prefer minimalist setups or are working within a limited budget.
One of the primary benefits of using a white wall as your projection surface is the sheer convenience it offers. There's no need to worry about positioning or hanging a bulky projector screen, allowing for more flexibility in room design and layout. A white wall can also blend into your home's decor, providing a clean and unobtrusive solution without compromising function.
Moreover, when combined with a high-quality projector, a white wall can deliver impressive image quality. This is because the projector light reflects directly off the surface, providing vibrant and lifelike colors. The wall's natural diffusivity aids in achieving better color accuracy and an enhanced viewing experience, provided that the wall is appropriately prepared and free from imperfections.
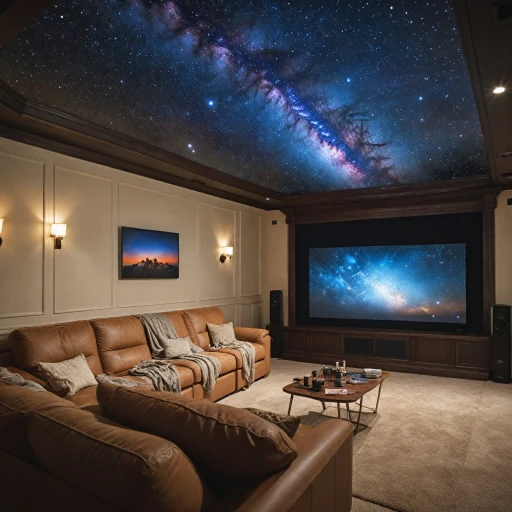
Additionally, using a white wall can potentially offer a larger viewing area than a fixed-size projection screen, making it ideal for those seeking a cinema-like experience in their own space. This versatility can also be particularly beneficial if you enjoy frequently switching aspects or resizing your projection based on different types of content.
However, achieving the best possible projection results will still depend on factors such as ambient light levels, the finish of the wall surface, and the capabilities of the chosen projector. It’s important to consider these elements in tandem to ensure your setup meets and exceeds your expectations. For more insights on maximizing your home theater setup, check out this guide on enhancing your home theater experience with a projector wall.
Challenges and Considerations
Understanding Challenges When Projecting on White Walls
Projecting onto a white wall can be a cost-effective alternative to traditional projection screens, but there are challenges to be aware of in order to enhance the overall viewing experience. The characteristics of white walls can sometimes impact the quality of the projected image, requiring consideration of several factors. One key challenge stems from the wall surface itself. While white walls are often perceived as optimal for projection due to their neutral color, they can have imperfections. Bumps and uneven textures on the wall may result in distortions in the viewed image, ultimately affecting image quality. Ensuring the wall is as smooth as possible can help, but achieving a truly flawless surface might need professional intervention. Additionally, ambient light in the room can have a significant impact on projection quality. Unlike dedicated projector screens which are designed to enhance image contrast, white walls may struggle in brightly lit environments, leading to washed-out images. Considering ambient light conditions is vital for maintaining high contrast and optimum color accuracy. Adjustments like using blackout curtains or positioning the projector in a room with controlled lighting can make a substantial difference. Moreover, while the flexibility of using any available wall may seem appealing, fixed frame screens or projector screens often provide better surface quality. These options are engineered specifically for projection, offering high-quality surfaces with features like special coatings that improve viewing performance. However, if using a projector white wall remains preferable or necessary, specific screen paint solutions can enhance the wall to more closely mimic the characteristics of a quality projector screen. Finally, ensuring compatibility between your choice of a projector and the white wall is key. Certain projectors such as short throw options are specifically designed to project high-quality images at close range, reducing issues with ambient light and surface texture. For further guidance on understanding the essentials of speaker connectors in home theater projectors, you can explore more details in this helpful guide: Understanding the Essentials of Speaker Connectors in Home Theater Projectors.Optimizing Your White Wall for Projection
Improving Your Wall's Potential for Better Images
To achieve a high-quality experience when projecting onto a white wall, it's crucial to prepare the wall surface appropriately. Walls often have imperfections or textures that affect projection quality. Using the right screen paint enhances the projected image by providing a smoother and more reflective surface compared to untreated walls.
Start by ensuring that the wall is as flat and smooth as possible. Sand down any bumps or uneven spots. Once the surface is smooth and clean, apply a coat of high quality projector paint. This specialized paint improves light reflection and enhances color accuracy and contrast.
Minimizing Ambient Light Interference
Ambient light can drastically affect the quality of the projection. To enhance your viewing experience, take steps to control the lighting in the room. Consider installing blackout curtains on windows or using adjustable lighting to minimize interference during viewing sessions.
Walls painted in neutral colors with low gloss reflect ambient light less, thereby supporting better image clarity. If your room has white walls, ensuring they're properly painted for projection can make a big difference.
Optimizing the Projection Setup
After addressing the surface and ambient light factors, focus on setting up your projector. A short throw projector is ideal for smaller spaces as it can project large images from a short distance, minimizing shadow interference. Ensure your projector is of high quality to take full advantage of your enhanced wall setup.
While projector screens offer a refined option, a well-prepared white wall can serve as an effective substitute, delivering immersive images with excellent high contrast and color accuracy. By taking these steps to optimize your white wall, you can achieve a high quality viewing experience that closely rivals traditional projection screens.
Choosing the Right Projector for a White Wall
Finding the Perfect Fit for Your White Wall
When selecting a projector for use with a white wall, several factors need careful consideration to ensure you achieve the best possible projection experience. Choosing the right projector will directly impact the image quality, brightness, and overall viewing experience.
1. Brightness and Ambient Light: Focus on the projector's lumens rating, which indicates its brightness. A higher lumen count is beneficial if you have substantial ambient light in your room. This will help maintain a clear and vibrant projected image, even during daytime viewing.
2. Resolution and Image Quality: Look for a projector with high resolution capabilities to ensure the image quality is sharp and detailed. A projector with Full HD or 4K resolution will significantly enhance your viewing experience when projecting onto a plain surface like a white wall.
3. Contrast Ratio: A high contrast ratio is essential for achieving deep blacks and vibrant colors. This aspect becomes particularly critical when using a white wall as a projection surface, as it helps in enhancing the depth and richness of the displayed content.
4. Color Accuracy: To achieve high-quality color reproduction, consider projectors that offer advanced color processing technology. This ensures that the colors remain true to life and the visual experience is immersive.
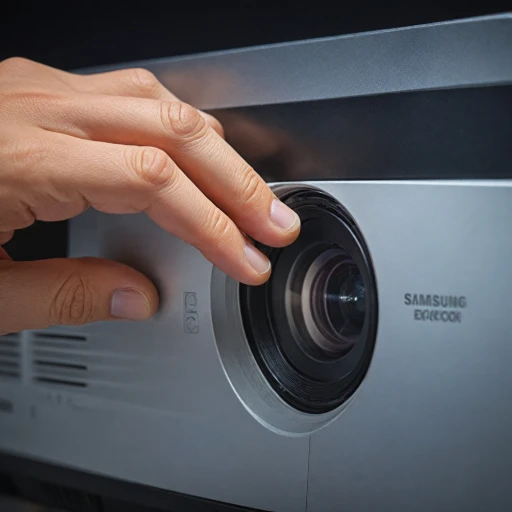
5. Projection Distance and Type: Depending on the size and layout of your room, you may consider a short throw projector. These projectors require less space to cast a large image, making them ideal for smaller rooms where space for projection is limited.
Investing in the right projector is critical for maximizing the potential of your white wall. By carefully assessing these factors, you can enjoy a high-quality home theater experience that rivals professional projector screens.

